Orca Slicer Strength Settings Walls, Shells, Infill & Rotation Tips for Strong 3D Prints
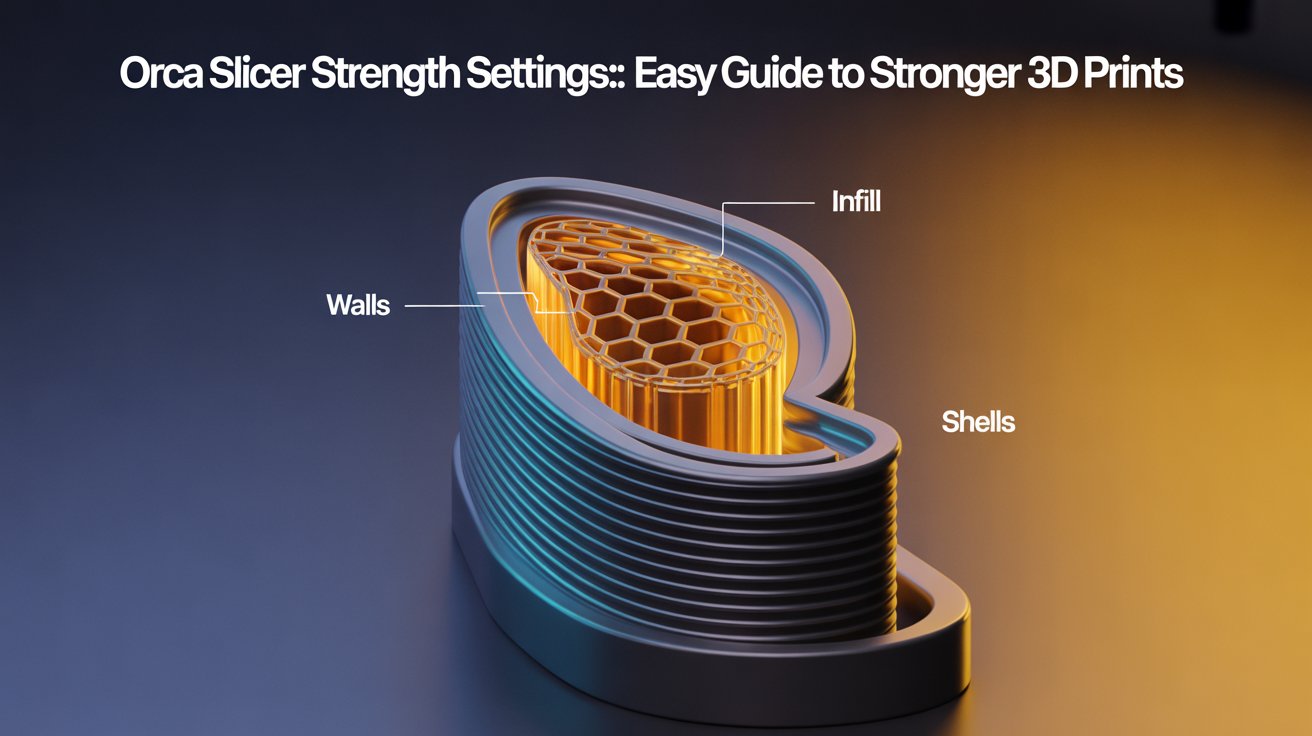
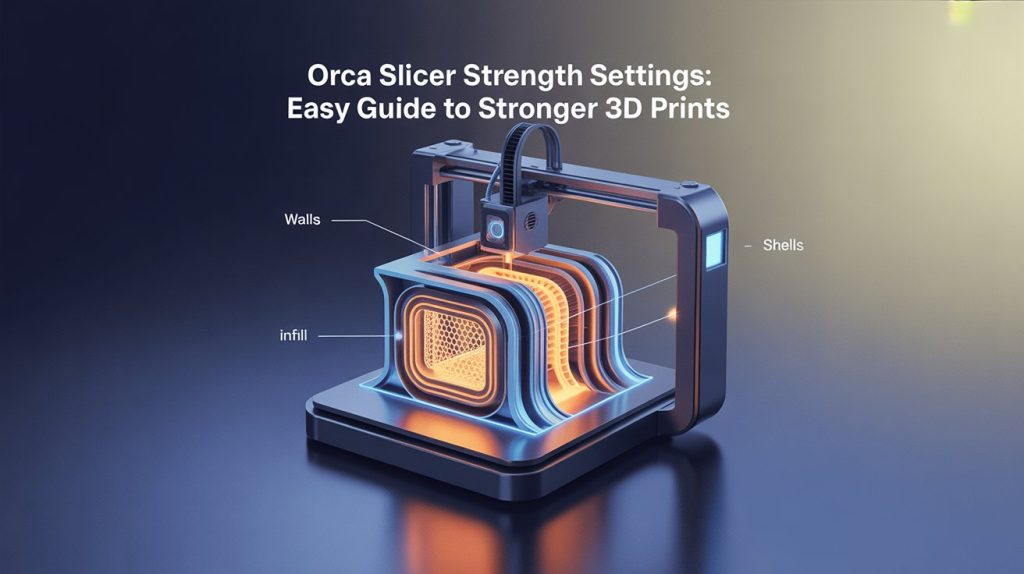
Strong, resilient 3D prints don’t happen by accident they’re the result of smart slicer settings. Orca Slicer gives you full control over how solid, stiff, and well-bonded your printed parts are. This short guide explains the key factors that influence print strength: walls, shells, infill, and rotation patterns.
Even small tweaks here can transform an average print into a strong, reliable one.
Overview
Strength Settings determine how durable and long-lasting your 3D prints will be.
If you want parts that don’t crack, split, or bend easily, adjust these four main factors:
- Walls (outer shell)
- Top & bottom shells
- Infill pattern and density
- Infill rotation (template metalanguage)
Tiny changes here make a big difference in real-world strength.
Walls The Core of Strength
Walls (also called perimeters or loops) form the outer skin of your print — the main structure that absorbs stress.
- Add wall loops: Use 3–5 walls for durable parts that take load.
- Wall line width: Set to 120–150 % of your nozzle size.
(Example: For a 0.4 mm nozzle, try 0.48–0.60 mm.) - Infill overlap: Use 10–15 % so infill bonds tightly to walls.
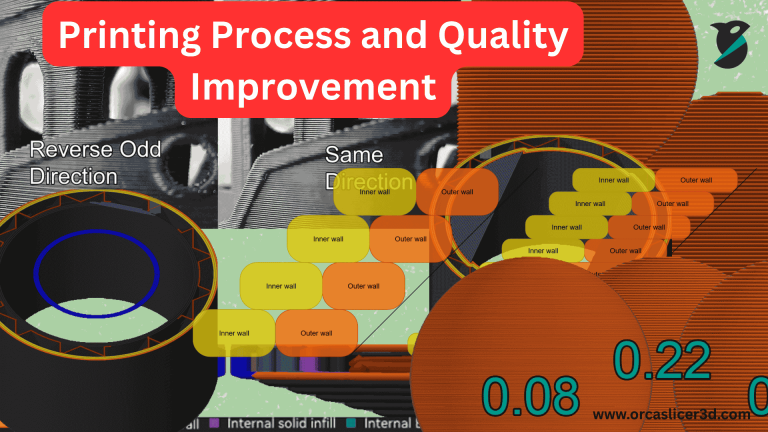
- Print order: Print inner walls first for stronger adhesion, then the outer wall for a smooth finish.
- Thin areas: Enable Detect Thin Walls to automatically fix narrow weak zones.
Top and Bottom Shells Seal and Support
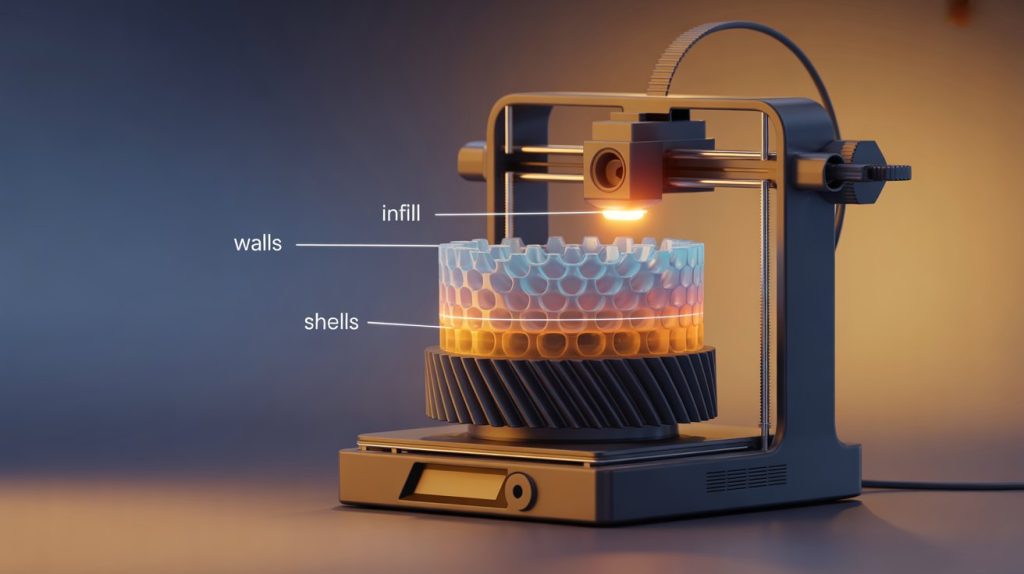
Top and bottom shells close your model and distribute load across the surface.
- Top layers: Use 5–9 layers to avoid dents and prevent infill from showing through.
- Bottom layers: Use 4–6 layers for a solid foundation and strong bed grip.
- Surface pattern:
- Rectilinear / Monotonic → strong, clean finish
- Concentric → better for curved or flexible models
- Overlap: Keep 10–15 % overlap between shells and infill to prevent separation.
⚠️ Too few top layers can make your surface soft and show infill lines.
Infill Patterns and Density Internal Strength
The infill acts as the internal skeleton of your print. Its shape and amount control stiffness and weight.
Strong infill patterns:
- Gyroid: Flexible, strong in all directions.
- Grid / Cubic: Very stiff and good for load-bearing parts.
- Honeycomb: Lightweight yet strong — great for vertical pressure.
Recommended settings:
- Density: 25–40 % for functional parts; less for decorative models.
- Infill line width: 105–110 % of nozzle diameter for better bonding.
- Temperature: Print 5–10 °C hotter than usual for stronger layer adhesion.
💡 Avoid Lightning or Concentric infill when strength is critical — they’re fast but weaker.
Also Read: Material and filament settings
Template Metalanguage (Infill Rotation)
Changing infill angles between layers helps spread stress and strengthen your part.
- Rotation plan: Alternate 45° → 135° → 90° to distribute force.
- Simple rule: Use 0° / 90° rotation for a strong cross-hatch structure.
- Example template:
{layer_num * 90 % 180}for automatic rotation.
This prevents weak stress lines and improves impact resistance.
Advanced Strength Settings (Quick Wins)
Fine-tuning these parameters can make your prints even tougher:
- Align infill with load: Match infill angle to stress direction.
- Bridge infill direction: Set bridge angles to prevent sagging.
- Sparse infill threshold: Keep tiny areas solid (around 15 %).
- Detect narrow internal solids: Auto-fills thin features for added stability.
- Volumetric flow limiting: Maintains consistent flow during fast moves.
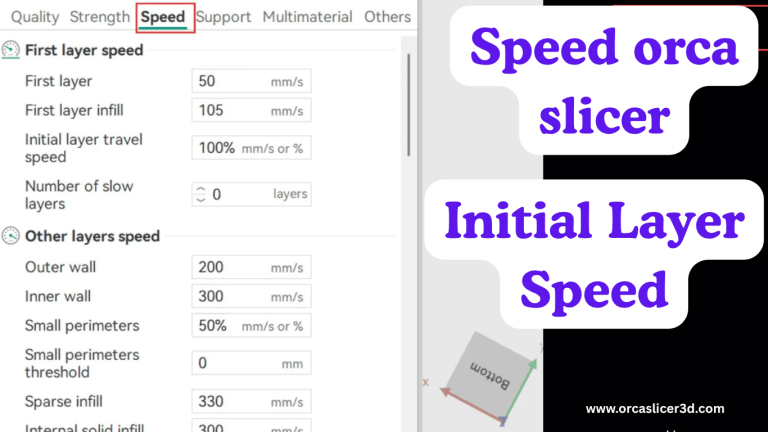
🧠 Use extrusion multiplier ≈ 105 % and outer wall speed = 40–60 mm/s to improve bonding and prevent delamination.
Quick Setup Table
| Parameter | Start Here | Why It Helps |
|---|---|---|
| Wall loops | 3–5 | Walls provide most of the strength |
| Line width | 120–150 % of nozzle | Better bonding between lines |
| Infill overlap | 10–15 % | Strong connection to walls |
| Infill density | 25–40 % | Balanced strength and weight |
| Top layers | ≥ 5 | Solid top surface, no gaps |
| Layer height | 0.15–0.20 mm | Strong interlayer adhesion |
| Nozzle temperature | +5–10 °C | Improves layer bonding |
| Outer wall speed | 40–60 mm/s | Reduces vibration, cleaner walls |
Troubleshooting Weak Prints
- Layers splitting: Raise nozzle temp by 5–10 °C, slow outer walls, and lower cooling fan.
- Gaps between infill and walls: Increase overlap to 15–20 %.
- Top dents or visible infill: Add 2–3 more top layers, use a rectilinear pattern.
- Corner ringing or vibration: Enable Input Shaping and lower acceleration.
- Weak first layer: Re-level the bed, fix Z-offset, and use Adaptive Bed Mesh.
Conclusion
Strong prints come from clever settings, not just more material.
By adding a few extra walls, selecting the right infill, and printing a little slower and hotter, you can make your parts last much longer.
Test, record, and repeat — soon you’ll have your own perfect formula for tough, reliable prints.
