OrcaSlicer Customization and Special Effects: Enhance Your 3D Prints with Advanced Features
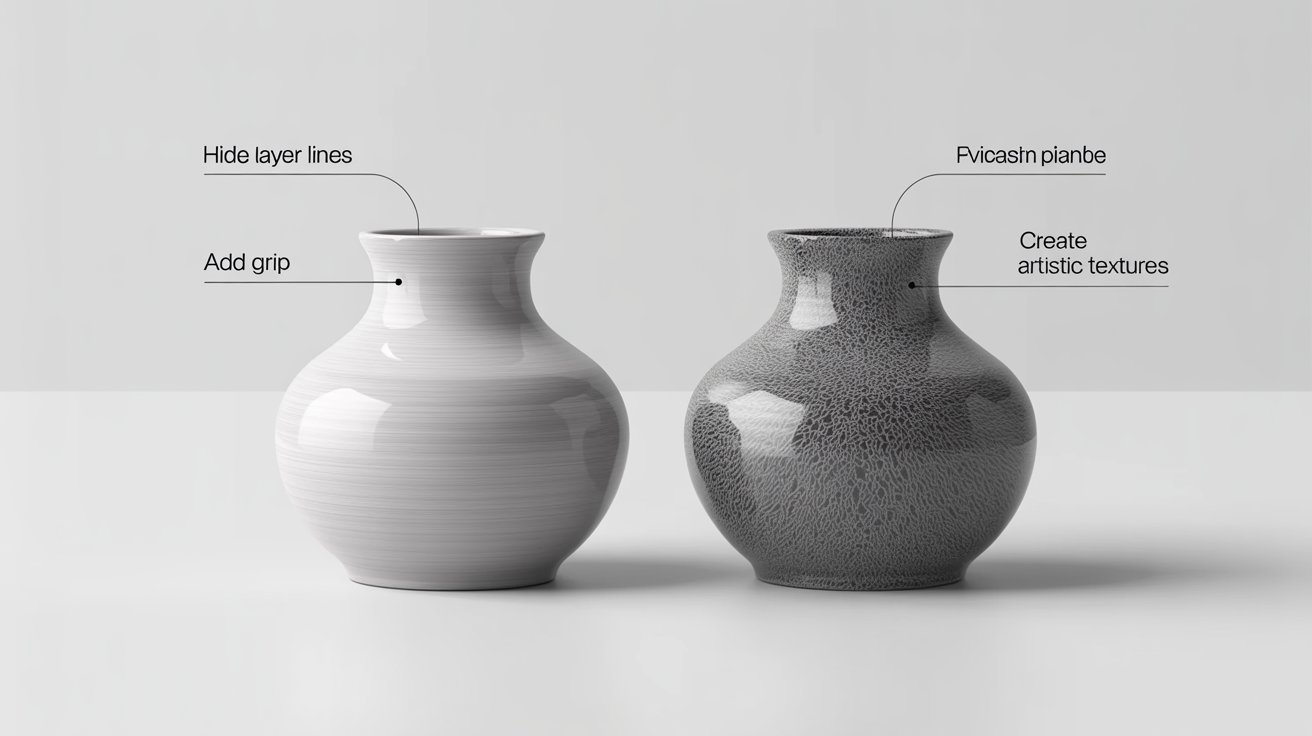
With OrcaSlicer, you can easily add your personal touch to your 3D prints using custom effects and automation. This guide introduces some of the most critical tools for producing professional prints that are one-of-a-kind.
Fuzzy Skin (Textured Surfaces)
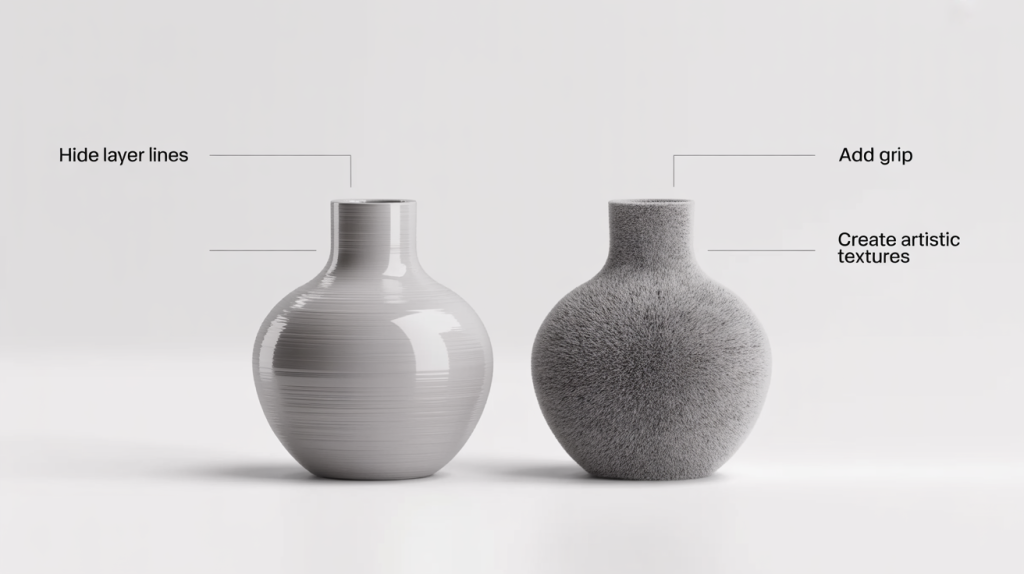
Fuzzy Skin creates a rough, textured surface on your prints by randomly moving the nozzle during printing. This feature is perfect for concealing layer lines, improving grip, and adding artistic flair. It is available in the following modes:
- Outer Contour: Textures just the outside wall of decorative items.
- Contours and Holes: Textures the outer wall and cavities.
- All Walls: Textures the full wall for extra-stylized prints.
Types of Noise: OrcaSlicer provides five kinds of patterns:
- Classic: A random, coarse pattern.
- Perlin: Waves that simulate natural patterns.
- Billow: A smooth, cloud-like pattern.
- Ridged Multifractal: A sharp, angular backdrop.
- Voronoi: Organic, cell-like structure.
Practical Uses:
- Hide print imperfections and seaming.
- Increase grip (ideal for tool handles).
- Imitate natural textures such as fur, bark, or stone.
- Create unique artistic effects.
Special Modes – Spiral Vase and Adaptive Layers
Spiral Vase Mode: Your print is produced as one continuous spiral, creating a smooth curve since layer seams are hidden.
Features:
- Single-wall prints with no need for infills or tops.
- Fast printing with a smoother surface.
- Best for creating decorative items like vases, lampshades, and sculptures.
Tips:
- Ensure no overhangs.
- Enable 3–5 bottom layers.
- Use 0.4mm+ nozzles for optimal results.
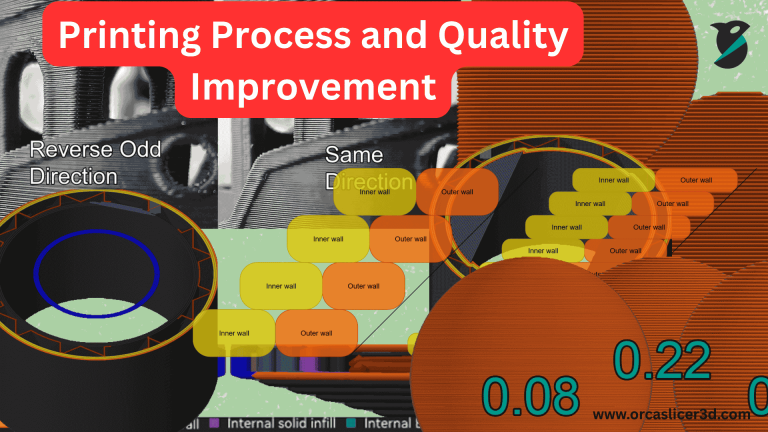
Adaptive Layer Heights: Automatically adjusts layer thickness based on the model’s geometry.
Benefits:
- Reduces print time without compromising quality.
- Uses thin layers for curves and thicker layers for flat areas.
- Provides smoother curves and better details.
Configuration:
- Set the minimum layer at 0.08mm for details.
- Set the maximum layer at 0.28mm for speed.
- Preview before printing to ensure the settings fit.
Modifier Meshes for Custom Effects
Modifier meshes allow you to apply distinct settings to specific parts of a model without altering the original file.
How it Works:
- Add a modifier shape (e.g., a cylinder or custom SVG).
- Position it over the target area.
- Apply unique settings to that region.
- Slice and print.
Applications:
- Variable infill: Dense in necessary areas, lighter elsewhere.
- Custom textures: Apply fuzzy skin on grips and regular textures on display surfaces.
- Exposed infill designs: Remove top layers to expose internal patterns.
- Multi-thickness walls: Thicker walls where strength is needed, and thinner walls where decoration is sufficient.
G-Code Output Customization
OrcaSlicer provides the flexibility to control how G-code is structured for your printer.
Start G-Code: Runs before printing begins, for example, homing axes, heating bed/nozzle, leveling the bed, and priming the nozzle.
G28 ; Home all axes
G29 ; Auto bed leveling
M104 S[first_layer_temperature]
M140 S[first_layer_bed_temperature]
End G-Code: Safely turns off the printer after printing, retracts filament, moves the head away, and turns off heaters.
Layer Change Scripts: Insert commands at every layer, such as progress notifications or fan adjustments.
Custom Commands at Heights: Pause at specific Z-heights for multi-color filament swaps or inserting custom hardware.
Automatically Adjust G-Code: Post-slicing, customize settings like quiet fan speed.
Post Processing Scripts
Modify G-code after slicing for advanced effects.
- Filament Changes (M600): Add automatic pauses to change filament without multi-extruder systems.
- Pause and Insert:
M0: Complete stop for manual interventions.M25: Temporary pause with heaters active.G4: Timed pause for stabilization.
- Lighting Effects: Add LED commands for RGB strips, changing color per layer.
- Time-Lapse Integration: Moves the print head to a consistent point for clean time-lapse photography.
Notes / Custom Metadata
Store project information directly within the G-code to keep track of important details.
What to Include:
- Project name and version.
- Date and designer.
- Filament brand, color, batch number.
- Print settings used.
- Notes on issues and resolutions.
- Estimated time and material.
Example Metadata:
; Project: Custom Bracket v2.1
; Date: 2025-11-01
; Filament: eSun PLA+ Black
; Print Time: 3h 15mins
; Material: 38g
; Notes: Increased walls for strength
Benefits:
- Track successful configurations.
- Share exact settings with others.
- Document troubleshooting.
- Maintain version history.
Advanced Model Manipulation
Edit models directly in OrcaSlicer without the need for external CAD software.
Basic Tools:
- Move (M): Position precisely using numeric input.
- Scale (S): Resize models to exact dimensions.
- Rotate (R): Orient the model for the best printing angle.
Cut Tool: Split large models into printable sections with automatic connector pegs for easy assembly.
Merge Objects: Combine multiple STL files into a single unified model.
Hollow Tool: Convert solid models into shells, saving 50-90% material and reducing warping.
Text Embossing (T): Add custom text directly to models, choosing fonts, adjusting size, and adding depth.
Multi-Material and Color Effects
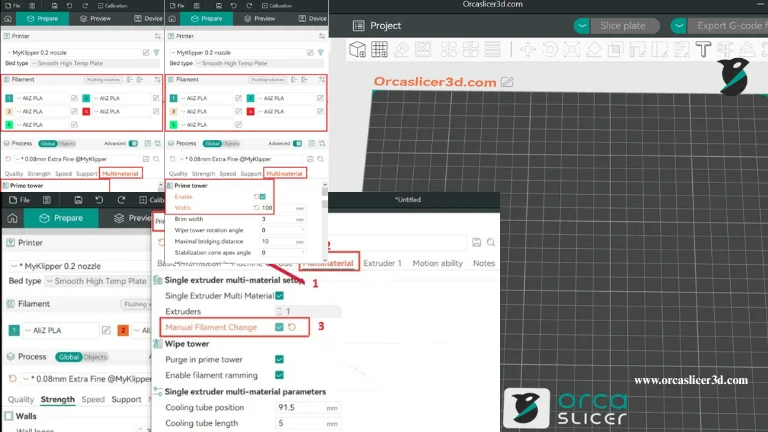
- Single Extruder Multi-Material: Print multiple colors using purge towers and manual filament swaps.
- Filament by Feature: Assign different materials to specific parts of the model:
- Flexible infill with rigid walls.
- Soluble supports with standard material.
- Decorative surfaces with functional cores.
- Color Change Techniques: Use manual filament changes at layer heights (e.g., M600), paint colors directly on the model, or use height-based gradients.
Ooze Prevention:
- Lower standby temperatures.
- Use ooze shields around models.
- Apply aggressive retraction during filament swaps.
Seam Control and Surface Quality
Minimize Z-seam visibility by choosing the seam position:
- Aligned: Neat, straight line.
- Hidden: Place the seam at sharp corners or the back.
- Random: Distribute the seam across the surface.
- Painted: Manually specify the exact location.
OrcaSlicer’s customization features transform basic 3D printing into a creative and exacting craft. From fuzzy skin textures to adaptive layers, modifier meshes to custom G-code, these tools give you ultimate control over your prints. Experiment with different combinations to discover what works best for your projects. Whether you’re creating functional parts, artistic pieces, or prototypes, OrcaSlicer gives you the freedom and ability to achieve your desired results.
