How to Unlock Plate Orca Slicer (Easy Step-by-Step Guide)
Do you want to edit a plate in Orca Slicer but it won’t let you? The plate might be locked. This guide shows you exactly how to unlock a plate in Orca Slicer in just a few simple steps. Whether you’re a beginner or a pro, this process is quick and easy.
What Is Plate Locking in Orca Slicer?
Orca Slicer lets you work with multiple plates at the same time. A plate is like a virtual print bed where you place your 3D models. You can lock a plate to protect it from accidental changes. When a plate is locked, you cannot move, add, or delete models on it.
This is a very useful feature when you are printing many parts at once. But if you need to make changes, you first need to unlock the plate. Here is how you do it.
Why Would You Need to Unlock a Plate?
You may need to unlock a plate for several reasons:
- You want to move a model to a different position on the plate.
- You need to add a new model to an existing plate.
- You want to delete a model or change its settings.
- You accidentally locked the plate and need to undo it.
- You are preparing the plate for a new print job.
How to Unlock Plate Orca Slicer — Step-by-Step
Follow these steps carefully. How to unlock plate orca slicer they work on Windows, macOS, and Linux.
Step 1: Open Orca Slicer
Launch Orca Slicer on your computer. Make sure you are using version 2.0 or newer. The latest version is v2.3.2, which is the most stable and reliable release available.
Step 2: Open Your Project File
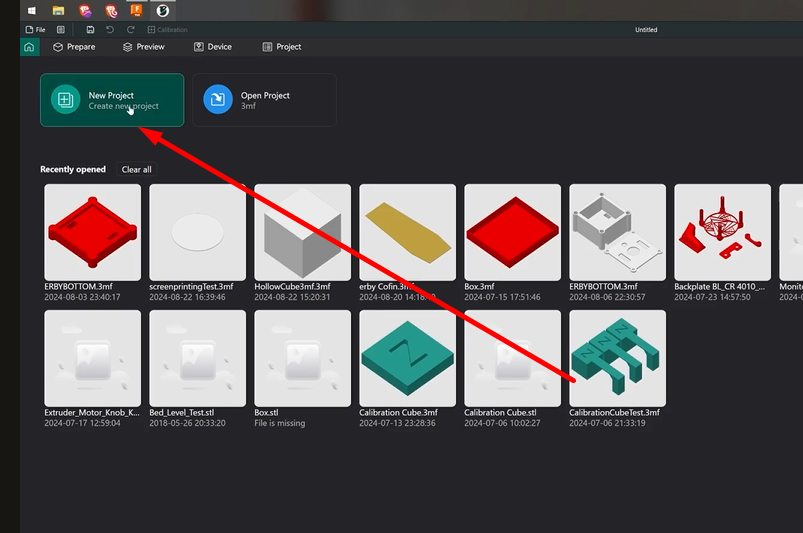
Load the project file that contains the locked plate. You can do this by going to File > Open or by dragging your .3mf file directly into the Orca Slicer window.
Step 3: Find the Plates Panel
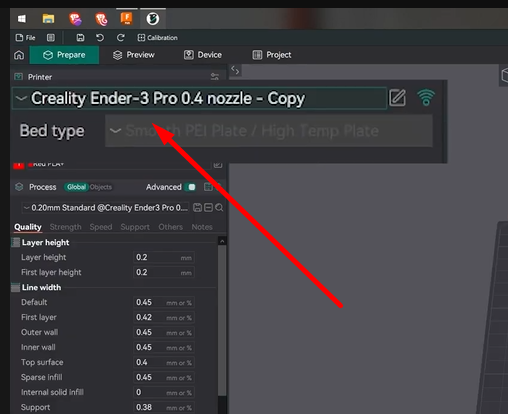
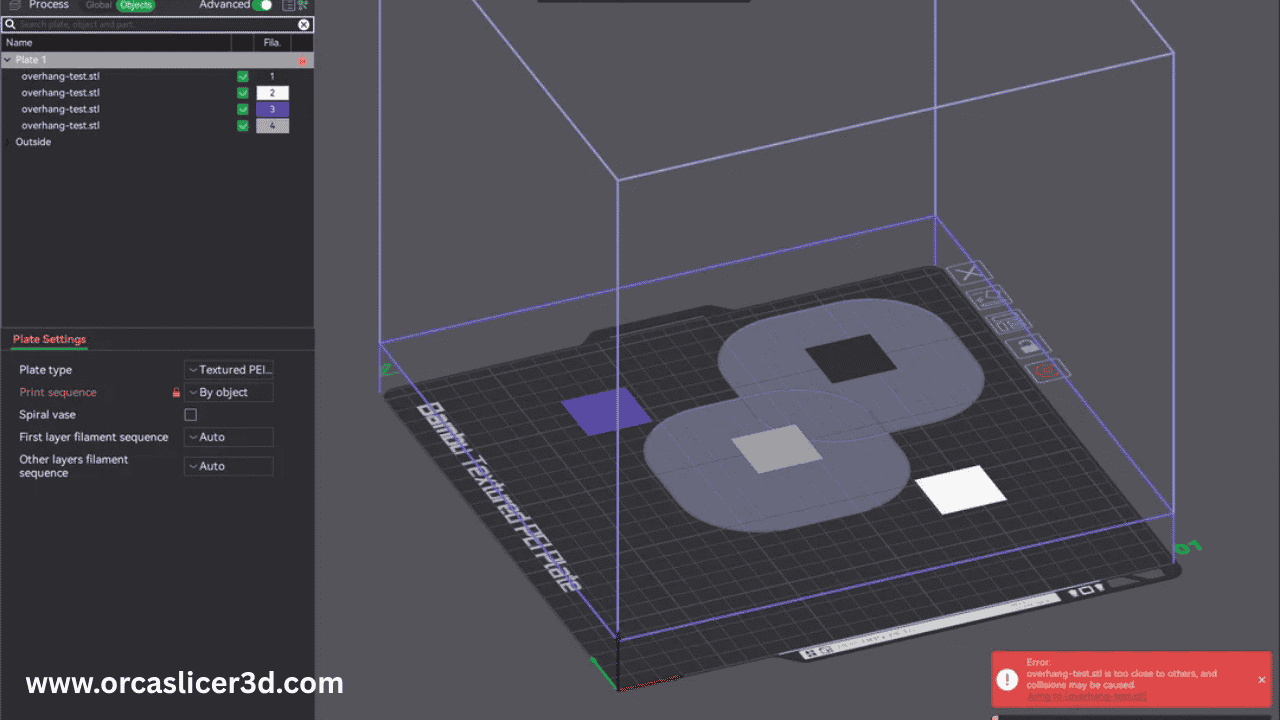
Look at the top area of the screen. You will see a section that shows all your plates. It may look like small thumbnails or tabs labeled Plate 1, Plate 2, and so on. If you cannot see the plates panel, go to the top menu and click View, then make sure the plates panel is turned on.
Step 4: Look for the Lock Icon
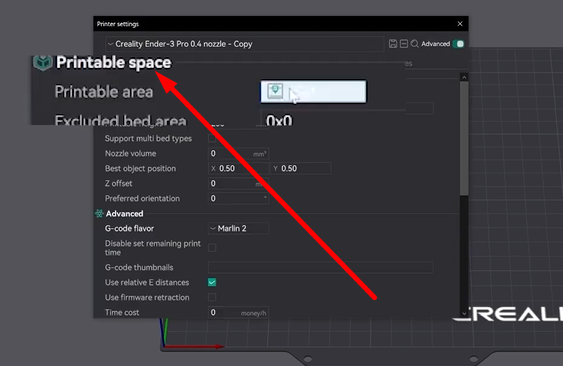
Find the plate you want to unlock. If the plate is locked, you will see a small padlock icon next to its name or thumbnail. This padlock icon means the plate is protected and cannot be edited right now.
Step 5: Right-Click on the Locked Plate
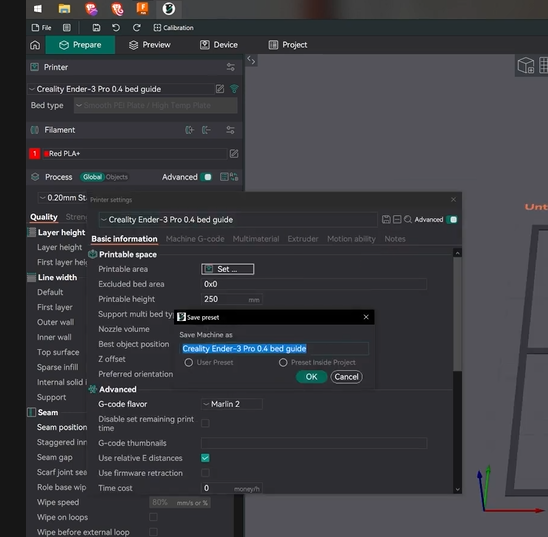
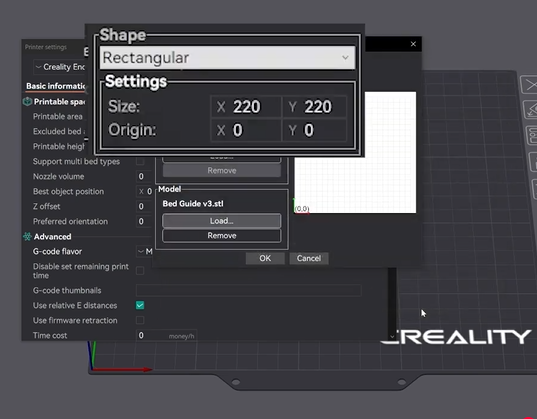
Right-click on the plate name or its thumbnail in the plates panel. A small menu will pop up on your screen. This is called the context menu.
Step 6: Click “Unlock Plate”
In the context menu, look for the option that says Unlock Plate or Unprotect Plate. Click on it. The padlock icon will disappear. Your plate is now unlocked and ready to edit.
Step 7 (Alternative): Use the Toolbar Button
If you do not see the unlock option in the right-click menu, try this method instead. Click on the locked plate to select it. Then look at the toolbar at the top of the screen. Find the lock or unlock button and click it. In some versions of Orca Slicer, this button is inside the plate settings panel on the right side of the screen.
Pro Tips for Managing Plates in Orca Slicer
Pro Tip: Always lock plates that are finished and ready to print. This stops you from making accidental changes before you slice and send the file to your printer.
Pro Tip: If you unlock a plate by mistake, press Ctrl + Z on Windows or Command + Z on macOS to undo the action. The plate will go back to its locked state.
Pro Tip: For large projects with many plates, lock all finished plates and only keep one plate unlocked at a time. This makes it easier to focus on one part of your project without making errors.
Note: Plate locking is available in Orca Slicer v2.0 and all newer versions. If you are using an older version, update to v2.3.2 first to get this feature along with many other improvements and bug fixes.
Also Read: Orca Slicer Guide
Common Problems and How to Fix Them
Problem: The Right-Click Menu Does Not Show an Unlock Option
Solution: Your version of Orca Slicer may be too old. Go to the official Orca Slicer website and download the latest version, v2.3.2. Install it and try again.
Problem: The Plate Still Looks Locked After Clicking Unlock
Solution: Try refreshing the view by clicking somewhere else on the screen and then clicking back on the plate. If it still looks locked, close Orca Slicer and reopen your project file.
Problem: The Lock Icon Is Not Visible
Solution: Some screen resolutions make small icons hard to see. Try zooming in on the plates panel or making the Orca Slicer window larger. You can also hover your mouse over the plate thumbnail to see its status in a tooltip.
Best Practices for Using Plate Locking
Using plates the right way can save you a lot of time. Here are some best practices that experienced Orca Slicer users follow:
- Lock each plate as soon as you finish arranging models on it.
- Use different plates for different parts of your project. For example, put all small parts on one plate and large parts on another.
- Name your plates clearly so you know what is on each one.
- Unlock a plate only when you need to make changes. Lock it again when you are done.
- Before slicing, check that only the plates you want to print are active and unlocked.
What Is the Difference Between Locking and Disabling a Plate?
Some users confuse locking a plate with disabling it. These are two different things.
Locking a plate means you cannot edit the models on it. The plate will still be included when you slice your project.
Disabling a plate means it will be skipped during slicing. The models stay on the plate, but they will not be printed.
To lock a plate, right-click and select Lock Plate. To disable a plate, right-click and select Disable Plate or look for a checkmark you can uncheck next to the plate name.
Plate Locking in Orca Slicer v2.3.2
The latest version of Orca Slicer is v2.3.2, released on March 23, 2026. This version includes many improvements including better Linux and Flatpak support, improved MMU detection, and several bug fixes. The plate locking feature works smoothly in this version on all supported operating systems.
If you are still on an older version, it is strongly recommended to update. You can always find the latest version on the official Orca Slicer GitHub page.
Frequently Asked Questions (FAQs)
Final Thoughts
Unlocking a plate in Orca Slicer is a simple process once you know where to look. Just right-click the locked plate and select Unlock Plate. In a few seconds, your plate is ready to edit. Remember to lock your plates again when you are done to keep your project safe and organized.