Orca Slicer Master Guide
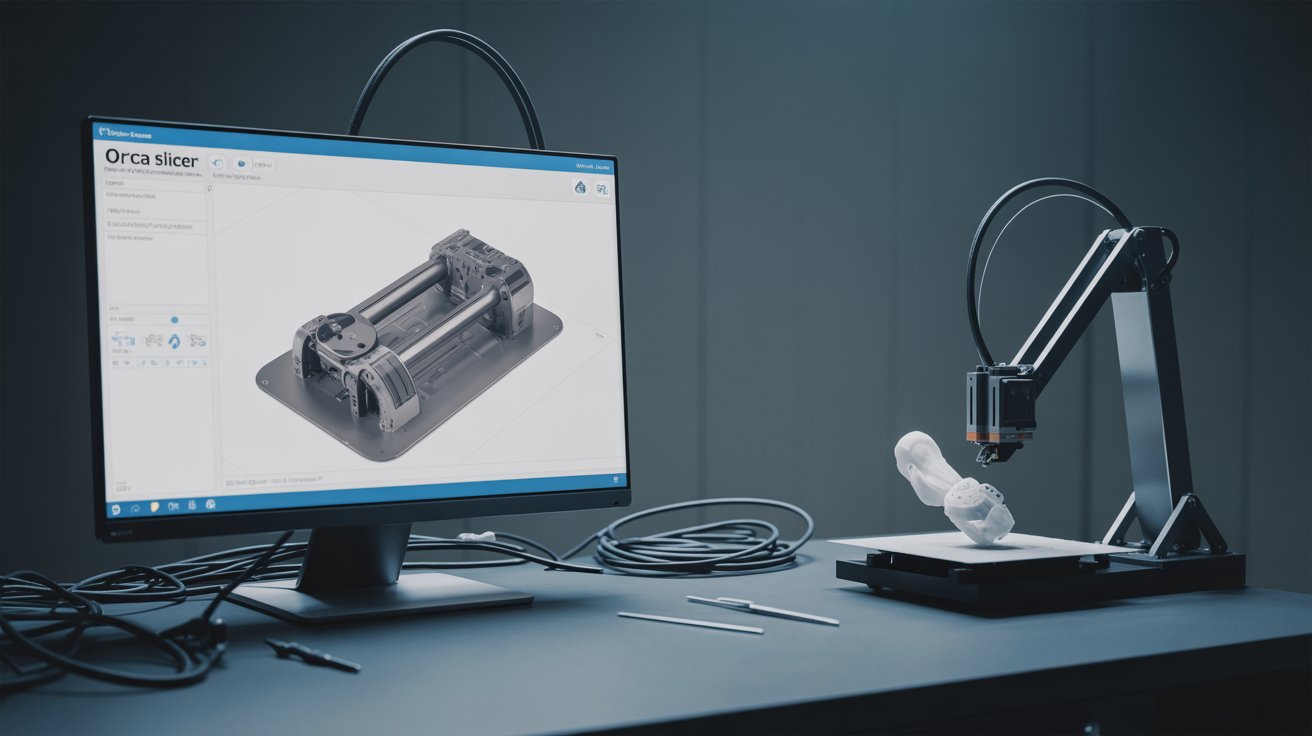
Unlock your 3D printer’s true potential with Orca Slicer. This in-depth guide is built for hobbyists, prosumers, and professionals who want to master every layer — from basic setup to advanced calibration and troubleshooting.
Why Orca Slicer Matters
Orca Slicer is a powerful, open-source slicing software built for FDM/FFF 3D printers. It acts as a bridge between your digital designs and real-world prints by converting 3D models into G-code, the language your printer understands.
Originally forked from Bambu Studio by the developer SoftFever, Orca Slicer expands on Bambu Studio’s features while introducing advanced calibration tools, wider printer compatibility, and deeper customization. Today, it has become one of the most trusted slicers in the 3D printing community, supported by an active global user base.
Why Orca Slicer Stands Out
- ✅ Massive library of built-in printer profiles (Bambu, Prusa, Creality, Flashforge, and more).
- ✅ Advanced calibration menu for perfecting every print setting.
- ✅ Native support for Klipper and Marlin firmware.
- ✅ Multi-plate and batch printing for large production runs.
- ✅ Remote control features via OctoPrint, Klipper, and Obico integration.
Whether you’re just starting or managing a print farm, Orca Slicer grows with your skills and hardware.
How Orca Slicer Works
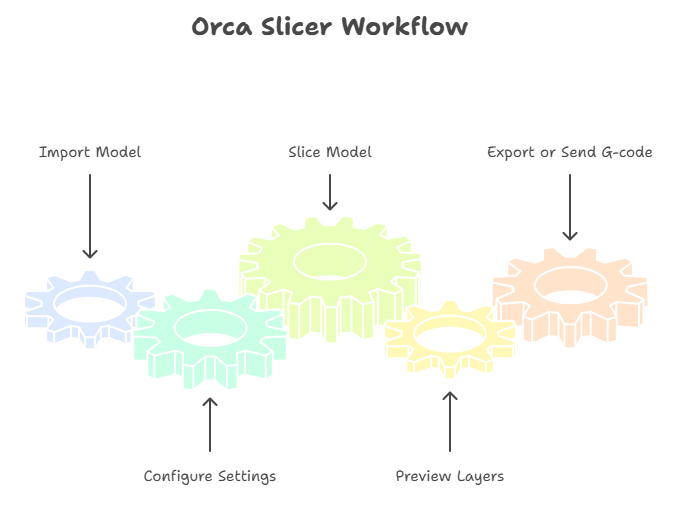
Before diving into advanced features, let’s simplify the slicing process:
- Import Your Model
Drag-and-drop STL or 3MF files into Orca Slicer. - Configure Settings
Select your printer, filament type, and key parameters like layer height and infill. - Slice the Model
Orca generates layer-by-layer instructions for your printer. - Preview the Layers
Detect and fix potential issues visually before printing. - Export or Send G-code
Save to SD card, USB, or send wirelessly to your printer.
Pro Tip: Always check the G-code preview to avoid wasted filament and failed prints.
Installing Orca Slicer
Orca Slicer is free and works on Windows, macOS, and Linux.
- Download
- Visit the Orca Slicer Download Latest Version.
- You can cross-check it with the official Orca Slicer GitHub Releases page.
- Choose the correct installer for your operating system.
- Install
- Run the downloaded file and follow the setup prompts.
- Sync Settings (Optional)
- Create an Orca account to back up and sync your profiles securely.
Initial Setup Wizard
On first launch, Orca’s setup wizard will guide you step-by-step.
Step 1: Select Your Printer
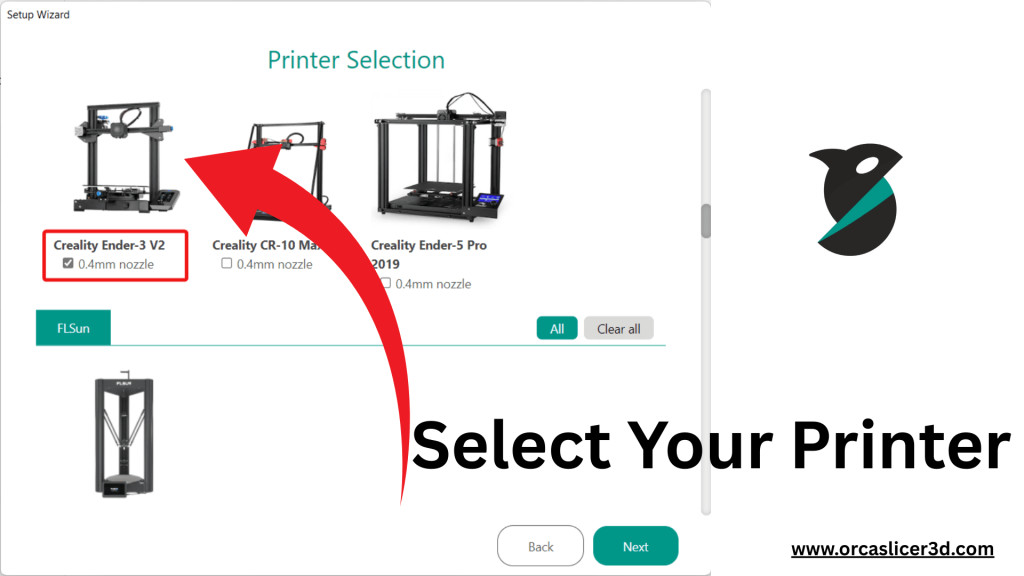
- Choose from hundreds of preloaded printer profiles.
- For custom machines (e.g., Klipper or Marlin-based printers), you can enter specs manually.
Step 2: Add Filament Profiles
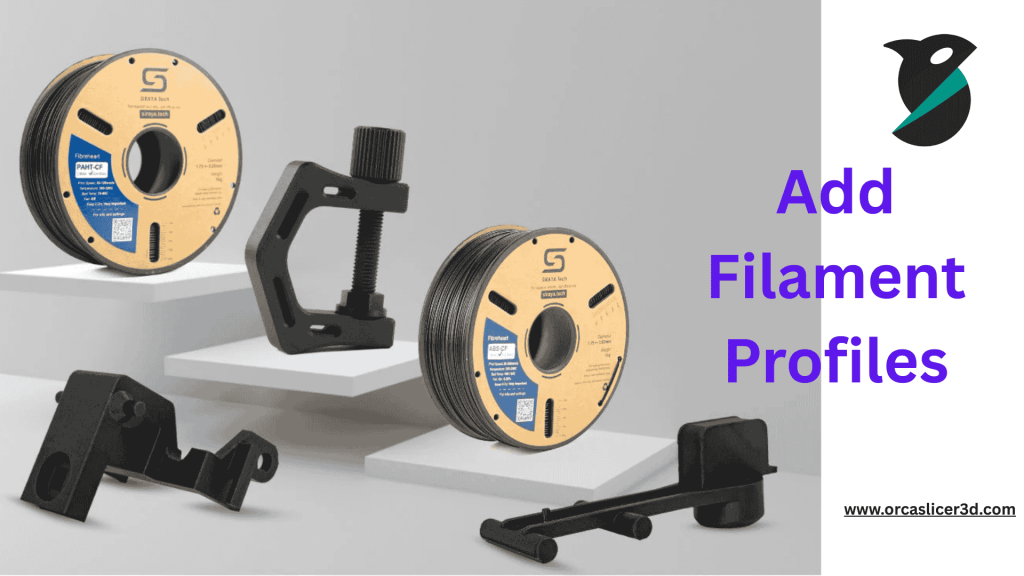
- Select filament types like PLA, PETG, ABS, or flexible materials.
- Orca automatically applies temperature and flow settings for each material.
Step 3: Enable Network Printing (Optional)
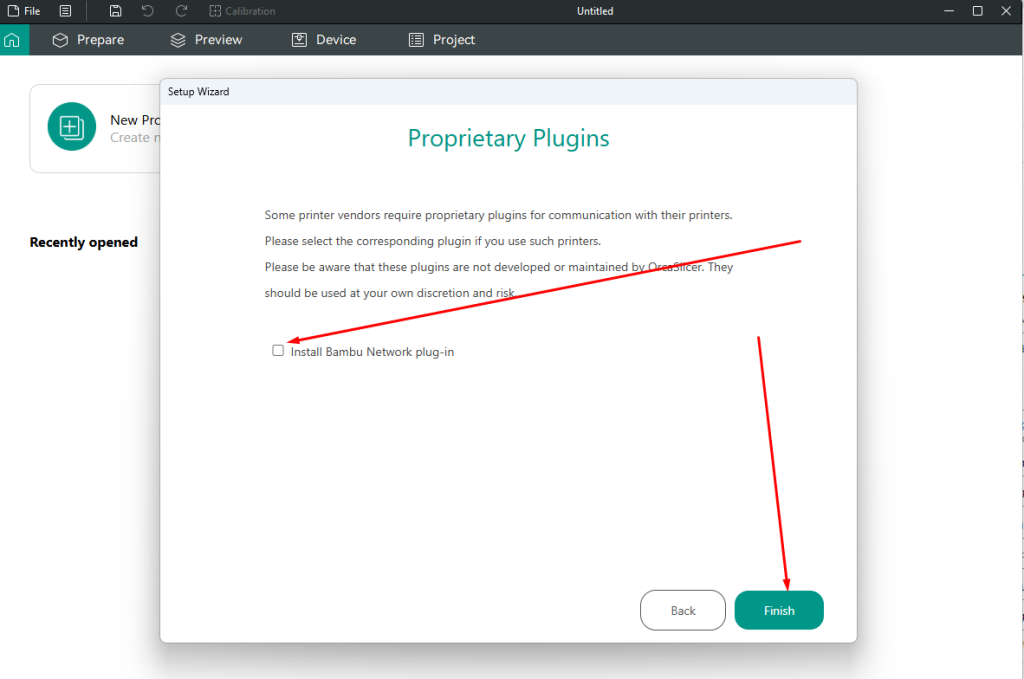
Step 3.1: Network Sucessful Install
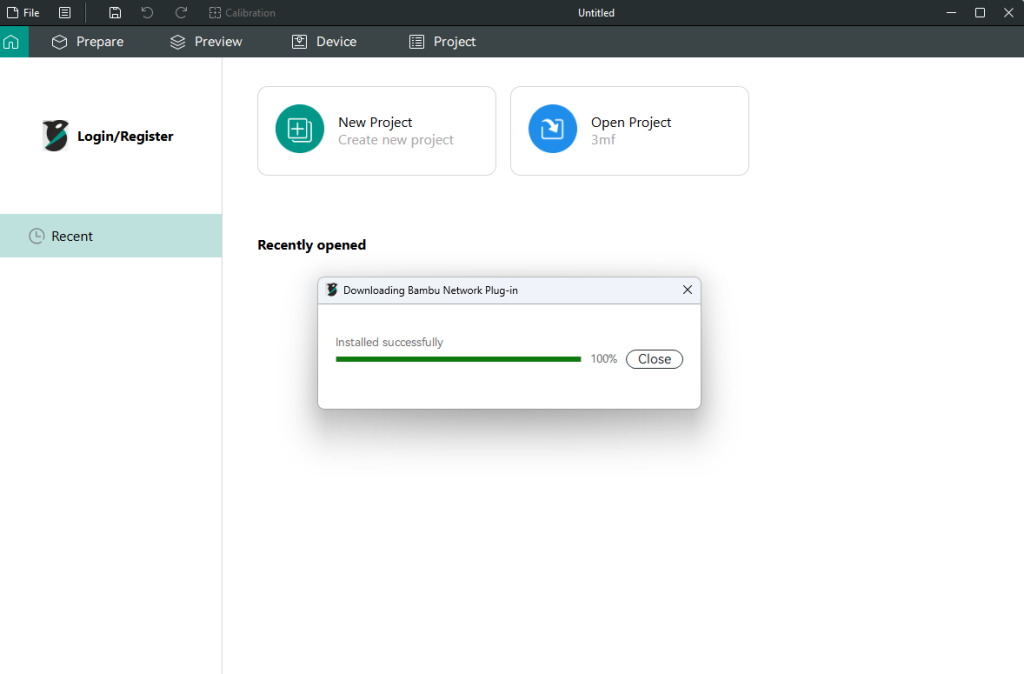
Install the Bambu Network Plugin to send files wirelessly and control printers remotely.
- Enable Lan Mode Click Here.
Step 4: Privacy Preferences
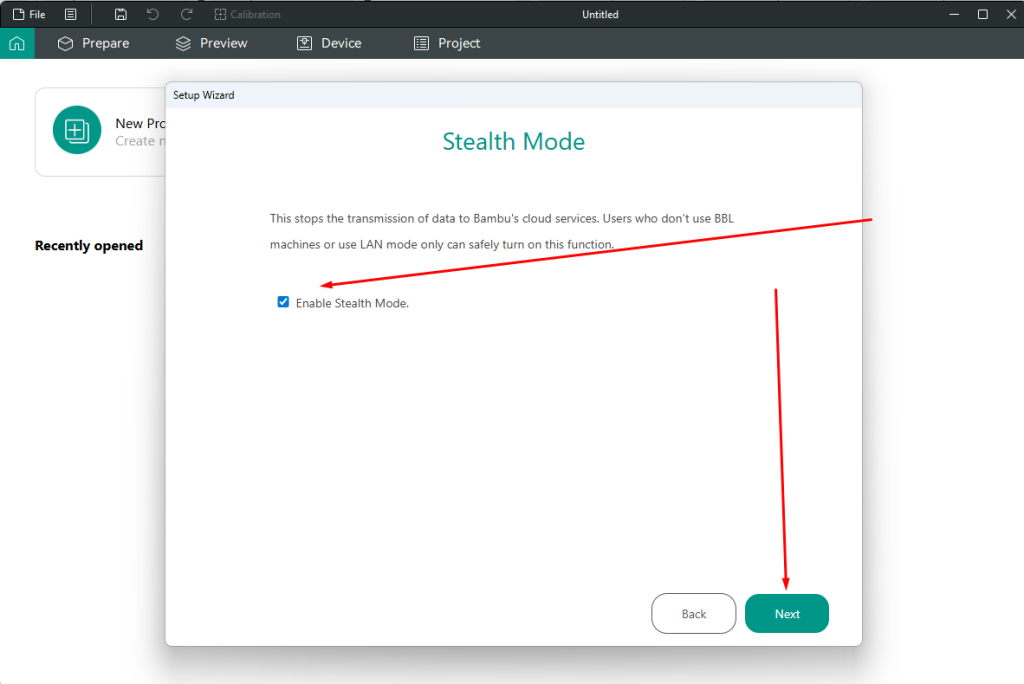
- Enable Stealth Mode if you don’t want cloud data syncing.
Backup and Update Process
Before upgrading Orca Slicer to the latest version:
- Go to File → Export → Export Preset Bundle.

- Save your Printer, Filament, and Process profiles.
After the update, restore them via File → Import to avoid losing your customized settings.
Core Orca Slicer Features
G-code Editing
Scaling & Transformation
Tuning Print Speed
Speed impacts both quality and efficiency:
Nozzle Size Adjustments
Cutting Large Models
Merging Objects
Adding Pauses Mid-Print
Custom Support Painting
Also Read: Orca Slicer Keyboard Shortcuts
Complete G-code List (Most Common 3D-Printer Commands)
If you’re editing custom G-code inside Orca Slicer, these are the most frequently used commands across Marlin, Klipper, and RepRap systems.
🔹 Movement Commands
| Command | Description |
|---|---|
| G0 / G1 | Linear movement |
| G28 | Home all axes |
| G90 | Absolute positioning |
| G91 | Relative positioning |
| G92 | Set current position |
🔹 Temperature Control
| Command | Description |
|---|---|
| M104 | Set nozzle temp (no wait) |
| M109 | Set nozzle temp (wait) |
| M140 | Set bed temp |
| M190 | Set bed temp (wait) |
🔹 Extrusion & Flow
| Command | Description |
|---|---|
| M82 | Absolute extrusion |
| M83 | Relative extrusion |
| M106 | Fan on |
| M107 | Fan off |
🔹 Print Control
| Command | Description |
|---|---|
| M25 | Pause print |
| M84 | Disable motors |
| M204 | Acceleration settings |
| M205 | Advanced motion settings |
🔹 Klipper-Specific Commands
| Command | Description |
|---|---|
| BED_MESH_CALIBRATE | Run bed leveling |
| PID_CALIBRATE | Auto PID tuning |
| SET_HEATER_TEMPERATURE | Set heater temps |
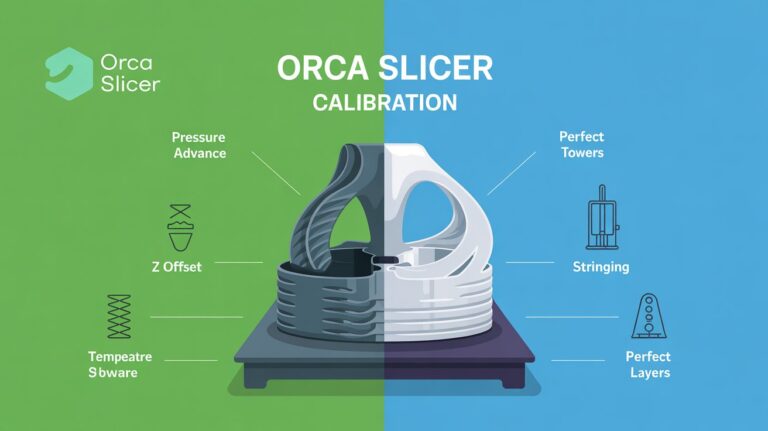
Advanced Calibration Hub
Advanced calibration ensures consistent, professional-level prints.
For a full step-by-step guide, visit: Orca Slicer Calibration Guide
Temperature Tower
- Test multiple temperature zones in one print to find the ideal filament temperature.
- Improves adhesion and surface finish.
Flow Rate Calibration (Unique Process)
Unlike basic guides, this method uses a 3-pass refinement for extreme accuracy:
- Print initial flow test models at ±5% variation.
- Identify the smoothest top layer and calculate new ratio using:
New Flow Ratio = Old Ratio × (100 + Modifier) ÷ 100 - Validate with a second round at ±2% variation.
- Finalize with precision tuning for specialty filaments.
Full walkthrough here: Flow Rate Calibration Guide
Pressure Advance (PA)
- Compensates for pressure changes inside the extruder.
- Eliminates corner blobbing and sharpens edges.
- Calibration Methods:
- PA Tower (most accurate)
- PA Line
- PA Pattern
Retraction Test
- Prevents stringing and filament oozing.
- Adjust retraction distance and speed until artifacts disappear.
Tolerance Testing
- Use a multi-hole model to measure printer dimensional accuracy.
- Helps achieve perfect fit for mechanical parts.
Max Volumetric Speed
- Find the point where extrusion speed causes under-extrusion.
- Essential for high-speed printing.
VFA (Vertical Fine Artifacts)
- Identify the fastest speed before vertical surface artifacts appear.
- Balances speed and quality for demanding prints.
Advanced Settings Overview
| Category | Key Features |
|---|---|
| Printer Settings | Adaptive Bed Mesh, Chamber Control, Exhaust Fans |
| Material Settings | Multi-extruder profiles, Pellet printer support |
| Quality | Layer Height, Line Width, Seam Gap, Seam Painting |
| Strength | Wall tuning, Infill patterns, Advanced templates |
| Speed | Overhang speed, Acceleration, Jerk settings |
| Support | Tree vs Classic Supports, Support ironing |
| Others | Spiral Vase, Fuzzy Skin textures, Brims & Skirts |
Remote Printing & Smart Control
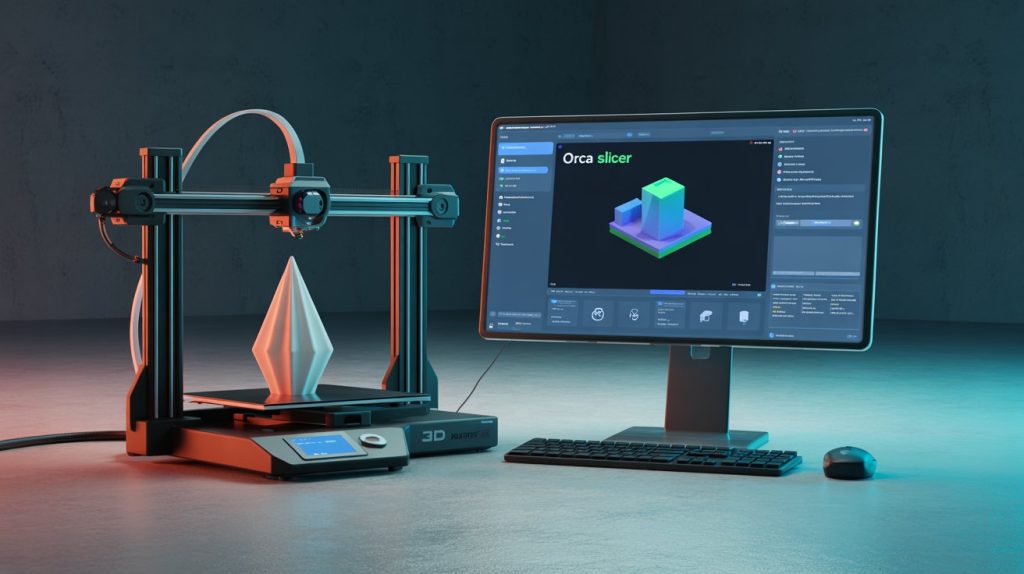
Device Tab
- Manage OctoPrint or Klipper directly inside Orca Slicer.
- Wirelessly send files and monitor live prints.
Obico Integration
- Access your printer from anywhere worldwide.
- AI-powered print failure detection to auto-pause failed jobs.
- Mobile app for notifications and time-lapse recording.
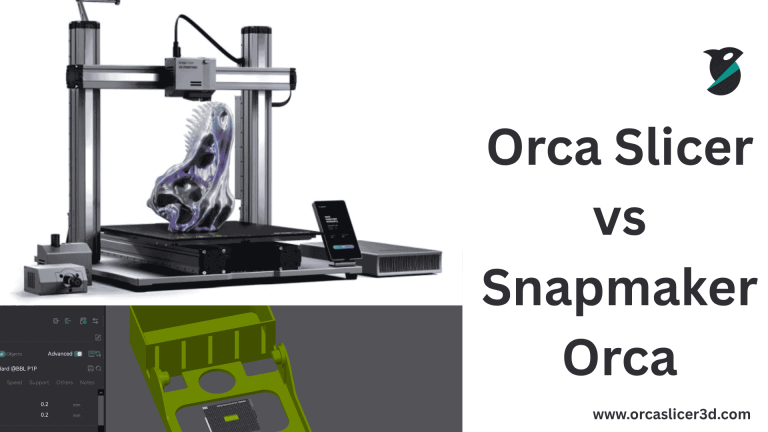
Orca Slicer vs Orca-Flashforge
| Feature | Orca Slicer | Orca-Flashforge |
|---|---|---|
| Printer Support | Multi-brand support | Flashforge-only |
| UI Complexity | Advanced, customizable | Beginner-friendly |
| Remote Features | Obico, Device Tab | FlashMaker App |
| Filament Compatibility | All filaments | Flashforge-certified |
Verdict:
- For diverse printer setups, choose Orca Slicer.
- For Flashforge-only environments, use Orca-Flashforge.
Troubleshooting Quick Reference
For a full troubleshooting guide, visit: Orca Slicer Not Working
| Issue | Fix |
|---|---|
| Poor bed adhesion | Clean build plate, slow initial layer speed |
| Visible seam blobs | Adjust Seam Gap, enable Wipe on Loops |
| Under/over extrusion | Recalibrate flow rate, check filament diameter |
| Prints too slow | Increase acceleration, check flow limits |
| Corrupt G-code | Enable Verbose G-code to debug |
Also Read: Orca Slicer Wiki
Pro Tips for Power Users
- Keep separate profiles for each printer model.
- Save custom presets for exotic filaments like carbon fiber.
- Use multi-plate feature for batch production.
- Regularly export backups of your profiles.
Final Thoughts
Orca Slicer is more than just software — it’s a command center for 3D printing.
By mastering its advanced calibration tools, optimizing settings, and leveraging remote features, you can unlock world-class print quality and efficiency.
Whether you run a home workshop or manage a production lab, Orca Slicer empowers you to optimize every layer and take full control of your 3D printing process.

