How to Load ini Profiles in Orca Slicer
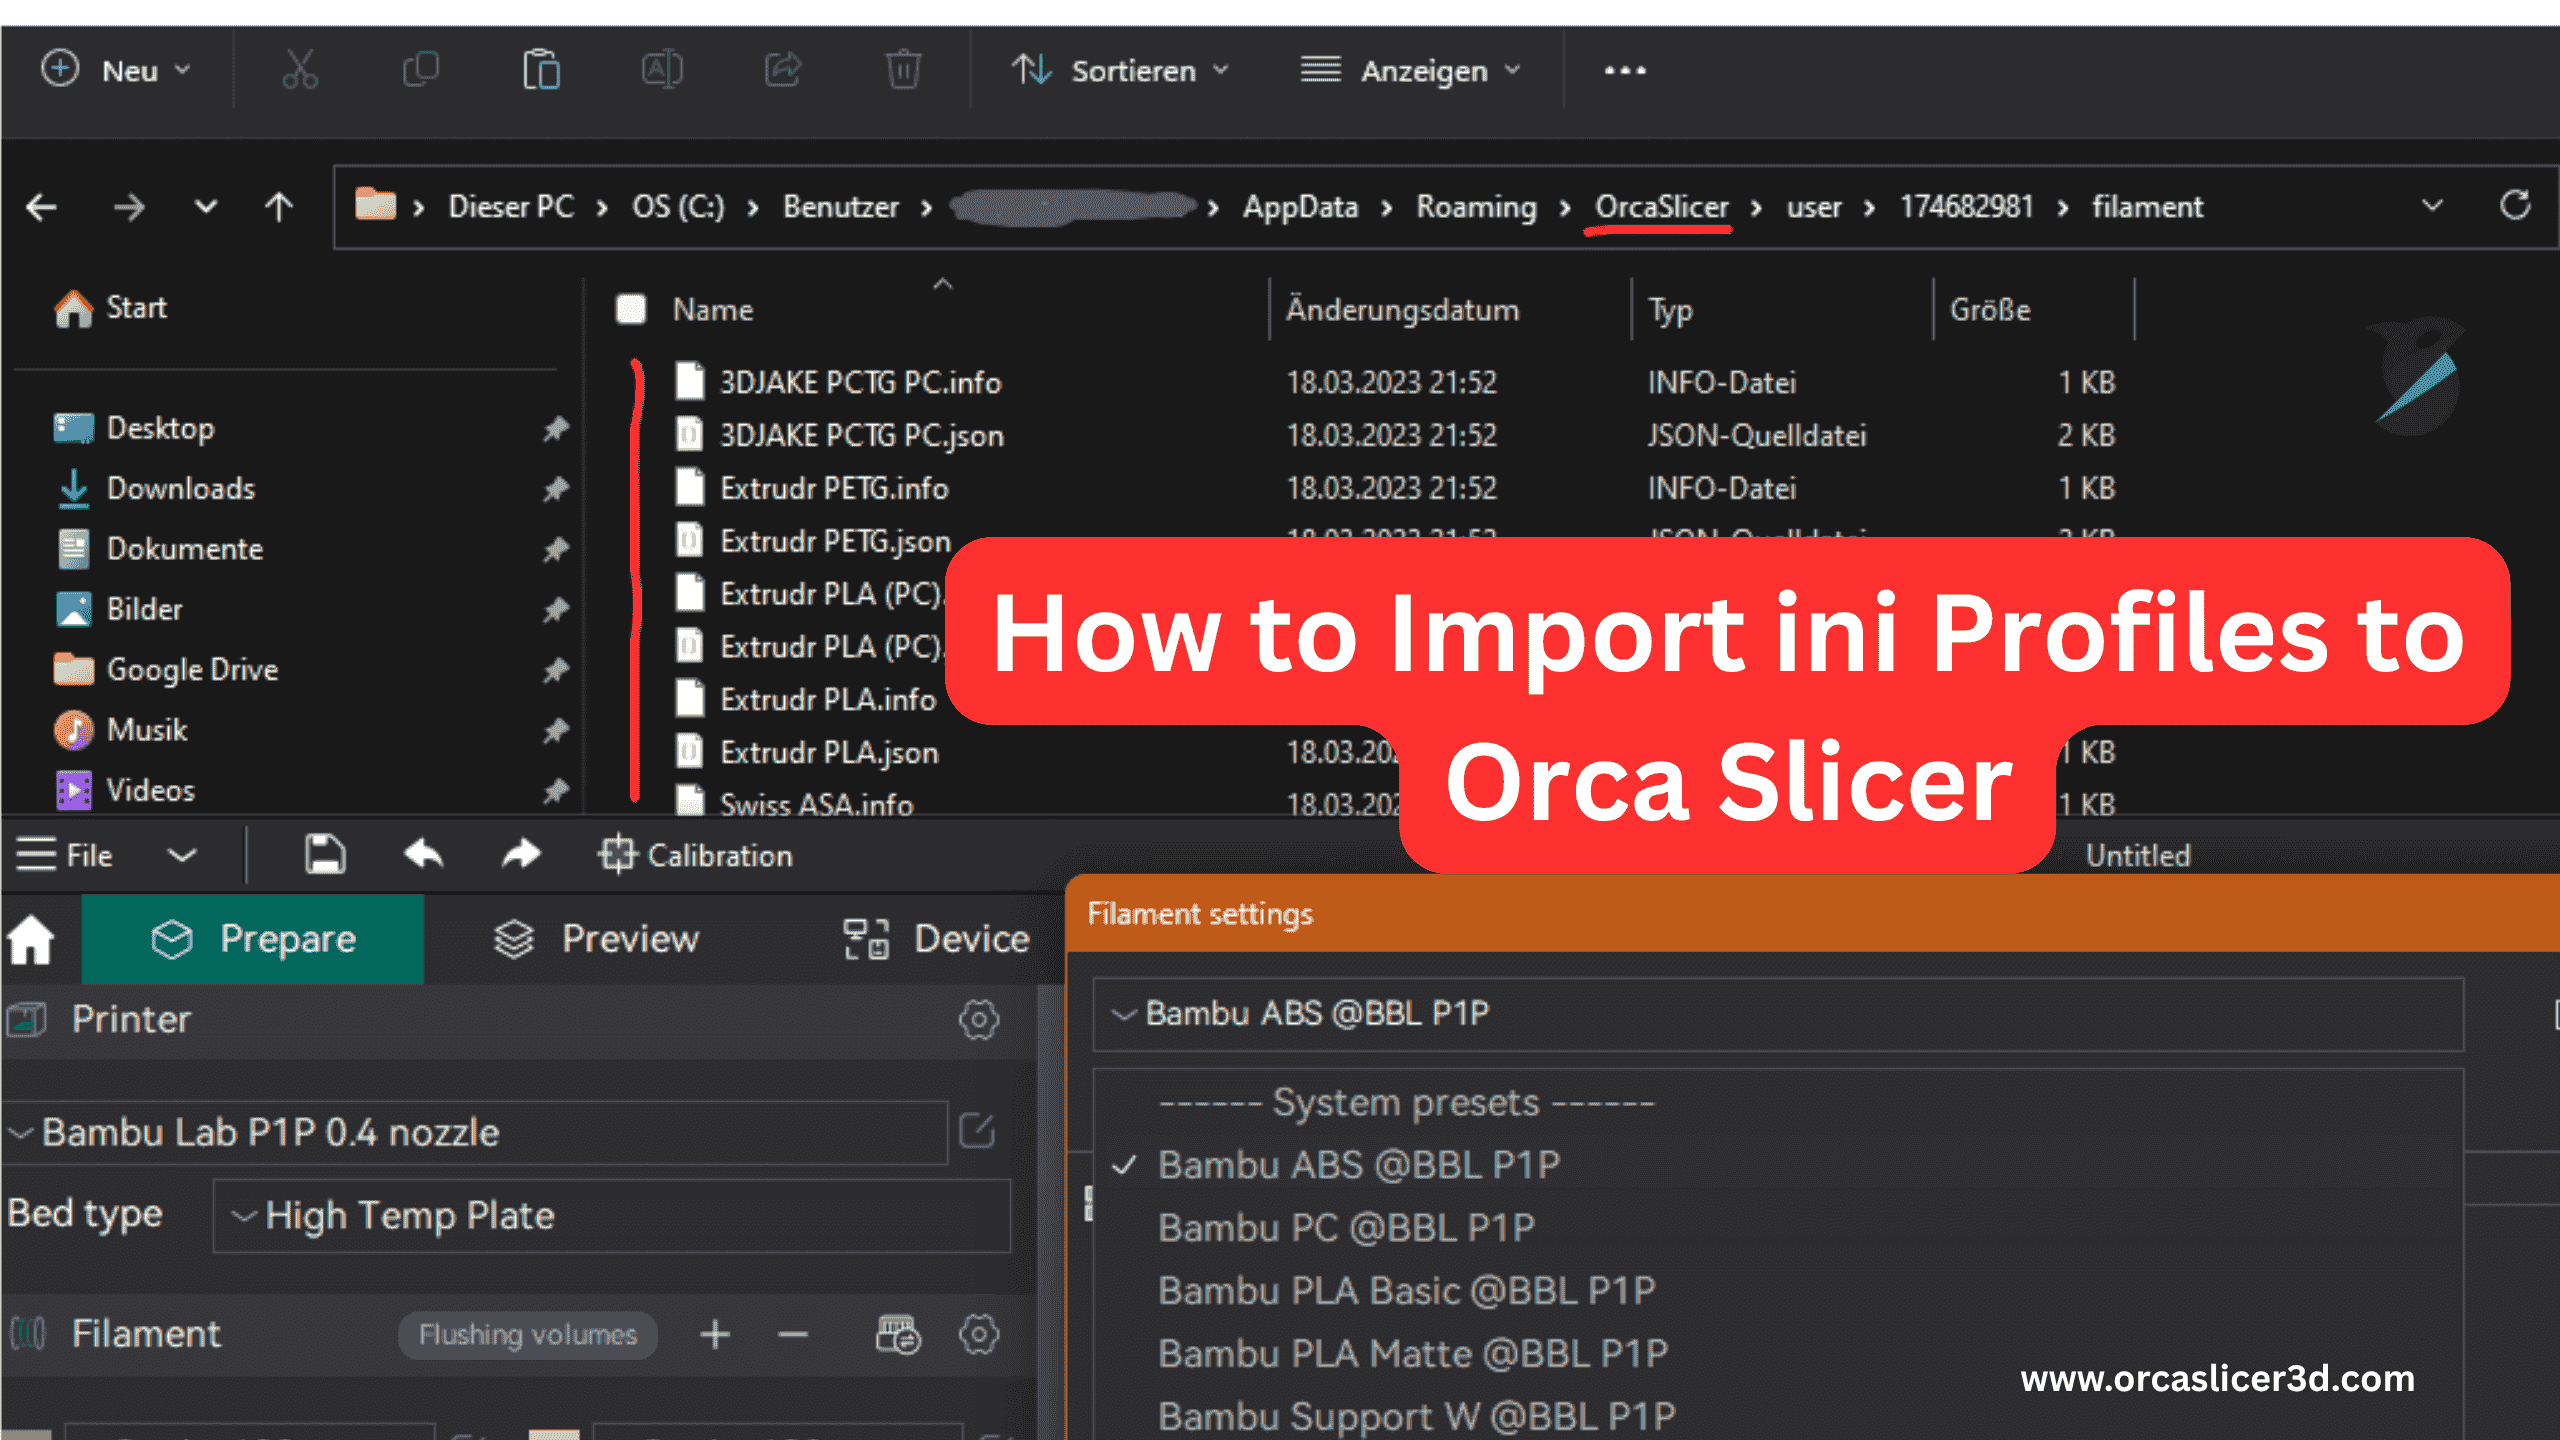
Many guys switching from PrusaSlicer or SuperSlicer want to keep .ini profiles into Orca Slicer — but soon find that the files won’t load straight in. If you’ve tried and seen “0 configs imported,” the reason why this happens and how to properly get your old profiles into Orca is what’s being covered in this guide.
🧩 Why The Orca Slicer Doesn’t Import .ini Files Directly
In a not too dissimilar style to PrusaSlicer and SuperSlicer (which keep their settings in .ini format), Orca Slicer reads .json.
In a GitHub discussion called “Allow import of Prusa Slicer .ini files for filament profiles (#1648)”, developers have addressed the concern that no conversion tool will be integrated.
This of course means you can’t rely on drag and drop .ini profiles to Orca — you will need to change them to .json first. Thankfully, the community already has a perfectly working conversion technique for mitigating this very problem.
⚙️ Explaining the Format Differences
Overlap between PrusaSlicer and Orca Slicer
The two slicers have a substantial overlap in configuration keys – stuff like:
- Temperature settings
- Retraction distances
- Print speeds
- Cooling and fan control
- Start and end G-code
These translate easily from .ini to .json.
What’s Different
Orca (and Bambu Studio) introduces the combination of many other options:
- Pressure advance controls
- Plate-specific bed temperatures
- Chamber temperature management
- Advanced cooling curves
Because .ini does not include such modern parameters, you should manually adjust them after the import.
Also Read: Download Orca Slicer
🧰 Method 1 – Import Existing .json Presets
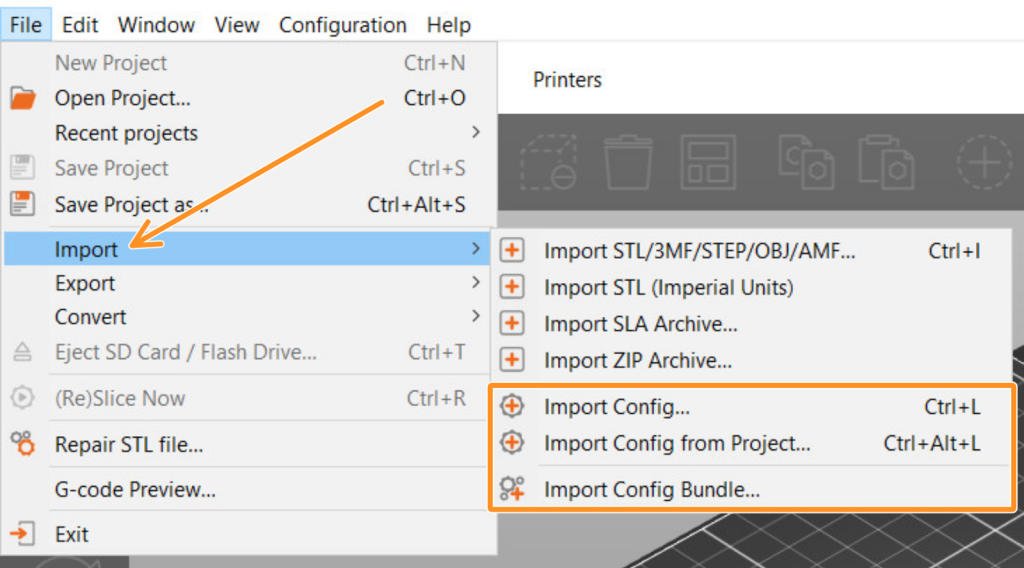
If your profiles are already .json format, you can also directly import them within Orca Slicer.
Steps
- Open Orca Slicer.
- Go to the menu bar and click File > Import > Import Preset.
- Browse and select your
.jsonprofile. - Click Open.
- The profile will be mounted in the corresponding section (Printer, Print, or Filament).
- Open Filament → Manage → Dependencies and switch on your printers/nozzle sizes so the filament is visible across setups.
💡 Tip: You can also export and back up all presets later with File → Export → Export Preset Bundle.
🔄 Method 2 – Convert .ini to .json (Recommended)
If you only have .ini files (whether they are from PrusaSlicer or SuperSlicer), convert them first BEFORE importing.
H3: Step-by-Step Conversion
Step 1 – Get the Converter
Head over to the community-created GitHub project SuperSlicer_to_Orca_scripts.
Download the repository, read the short setup instructions below (works on Windows, macOS, and *nix).
Step 2 – Prepare Your .ini Files
Put all your .ini profiles to one directory — typically printer, print, and filament profiles.
Step 3 – Run the Script
Run the converter script against that directory. It will simply create the matching .json files for each .ini file.
Step 4 – Import the Files that have been Converted
Now run Orca Slicer → File → Import → Import Preset → choose your new .json files → click Open.
Alternatively, you can manually copy them into the Orca configuration directory:
- In Orca go to Help → Show Configuration Folder.
- Close Orca.
- Paste the
.jsonfiles intofilaments,prints, orprinterssubfolders. - Reopen Orca — the profiles will show up by themselves.

🧭 Troubleshooting Common Problems
“0 Configs Imported”
- Ensure you are importing
.json, not.ini. - Import the printer profile first, then filament and print profiles.
- Close Orca before pasting everything manually into the config folder.
Filament Doesn’t Show Up
- Go to Filaments → Dependencies and tick all printers/nozzles you want the profile available for.
- Check that filament diameter and units match your printer setup.
G-code Behaving Incorrectly
- Review Start/End/Toolchange G-code blocks — some macros differ between slicers.
- Retune temperature, flow, pressure advance, and fan curves after import.
Mixing Profiles from Project Files (.3mf)
- Disable auto-import when opening
.3mfprojects if your settings get overwritten.
Post-Import Fine-Tuning
- First layer calibration for adhesion.
- Flow rate and pressure advance tuning.
- Temperature towers for new filaments.
- Cooling and speed optimization for your printer.
- Save each adjusted version under a new name for a comparison library.
Using Bambu Cloud Sync
If you also use Bambu Studio, sync compatible .json profiles directly to Orca Slicer with your Bambu Cloud account.
Simply log out and back in; the profiles will appear automatically — no manual import necessary.
Backup and Safety
Before updating Orca Slicer or installing a new version, back up the config:
File → Export → Export Preset Bundle.
A single file will contain all printer, print, and filament settings — saving time during setup.
Always store it safely.
Comparing the two we can see similarities.
Comparing the two we can see similarities.
Link1
🧾 FAQs
🧭 Expert Tips For A Smooth Transition
- Import profiles by one category to the next (Printer > Print > Filament).
- Always open and check G-code fields after conversion.
- Before full jobs, test print small calibration models.
- Name things in a similar way for better recognition.
- Back up your files before any massive Orca update.
🧩 Final Thoughts
Switching from PrusaSlicer or SuperSlicer to Orca Slicer might be scary in the beginning — mostly because Orca uses a different configuration system.
By converting your .ini profiles to .json, importing them correctly, and re-calibrating some values, you should be able to take most of your print knowledge and tuning with you into Orca relatively easily.
Although Orca does not yet support importing .ini files, manual population and manipulation have been made straightforward by the community.

