Orca Slicer Calibration: Beyond Flow Rate for Perfect 3D Prints
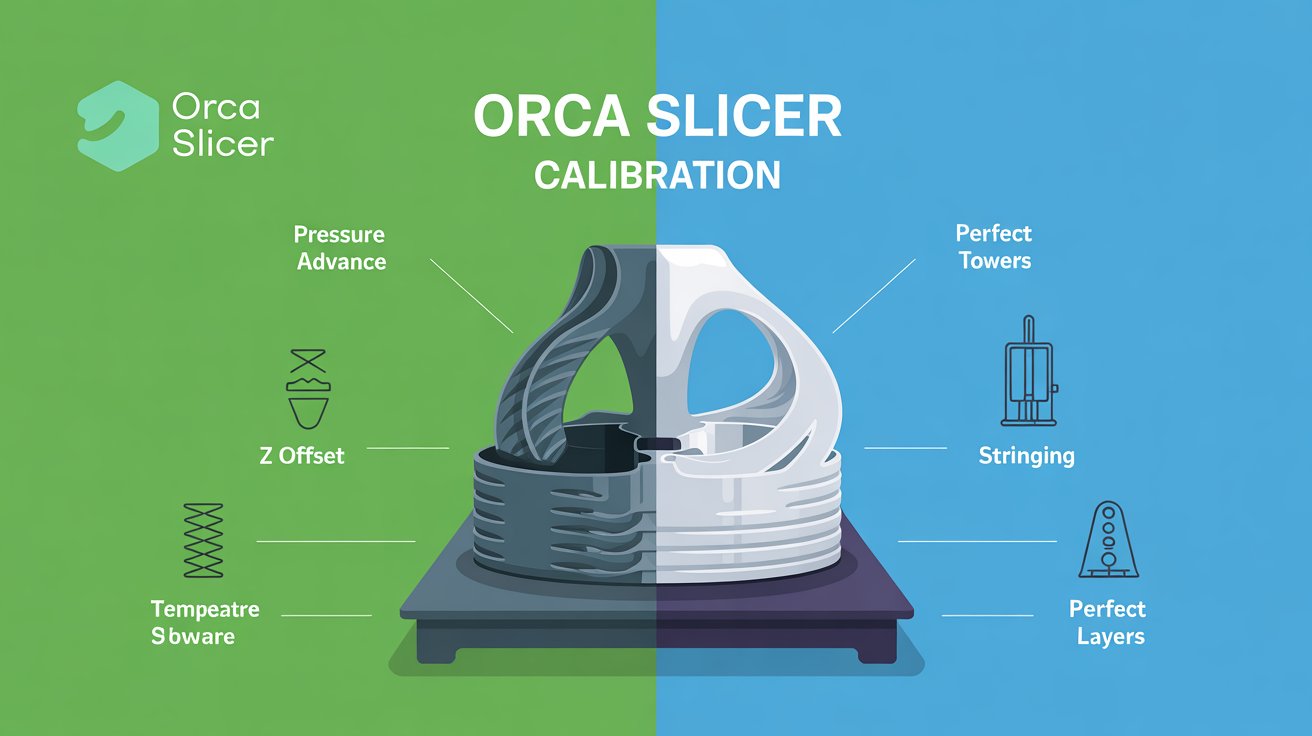
Getting your 3D prints to look flawless—sharp details, strong layers, and no stringing—starts with proper calibration. Orca Slicer, a free, open-source slicer built on Bambu Studio, makes this process a breeze with its built-in tools for tuning your printer.
While flow rate calibration is a great starting point (check our guide on flow rate calibration), Orca Slicer offers a suite of other calibration options like Pressure Advance, Temperature Towers, Retraction Tests, and Z Offset to take your prints to the next level.
Whether you’re using a Creality Ender 3, Prusa MK3S+, or a custom Klipper setup, this step-by-step guide will help you master Orca Slicer’s calibration tools for stunning results. Let’s dive in!
Why Calibrate Your 3D Printer with Orca Slicer?
Calibration isn’t just a one-time setup—it’s the key to consistent, high-quality prints. Orca Slicer stands out because it integrates advanced calibration tools directly into the software, unlike Cura’s plugin-dependent approach or PrusaSlicer’s limited options. Here’s why Orca Slicer is your go-to for calibration:
- Automated Tools: From test prints to visual guides, Orca simplifies complex tuning.
- Wide Printer Support: Works with Bambu Lab, Anycubic, Elegoo, Voron, and more.
- User-Friendly: Clear instructions and profile-saving for repeatable results.
- Time-Saving: Built-in automation cuts down trial-and-error compared to manual methods.
This guide covers Orca Slicer’s key calibration tools (beyond flow rate) to ensure your prints are precise, smooth, and reliable. If you haven’t installed Orca Slicer yet, grab it from our Download Now page.
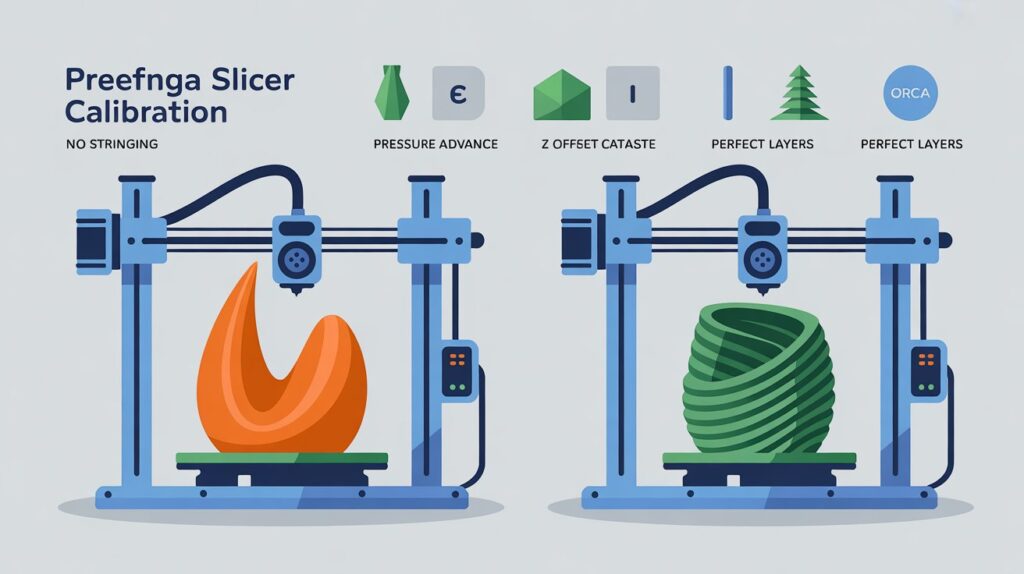
Key Calibration Tools in Orca Slicer
Orca Slicer’s Calibration menu (version 2.3.1 or later) offers several tools to fine-tune your printer. Here’s an overview of what we’ll cover:
- Pressure Advance: Reduces ooze and improves corner accuracy.
- Temperature Towers: Finds the perfect filament temperature.
- Retraction Tests: Eliminates stringing and blobs.
- Z Offset: Ensures a perfect first layer.
- Adaptive Bed Mesh: Compensates for uneven print beds.
Each tool generates a test print to help you visually evaluate and adjust settings. Let’s break them down step by step.
Recommended Calibration Order
Temperature (nozzle & bed)
Flow Rate (extrusion multiplier)
Pressure Advance (or Adaptive Pressure Advance)
Retraction
Max Volumetric Speed (optional, for high-speed)
Z Offset / First Layer Test
Adaptive Bed Mesh
Advanced Calibrations (Tolerance, Cornering/Jerk & JD, Input Shaping, VFA)
Step-by-Step Guide to Orca Slicer Calibration
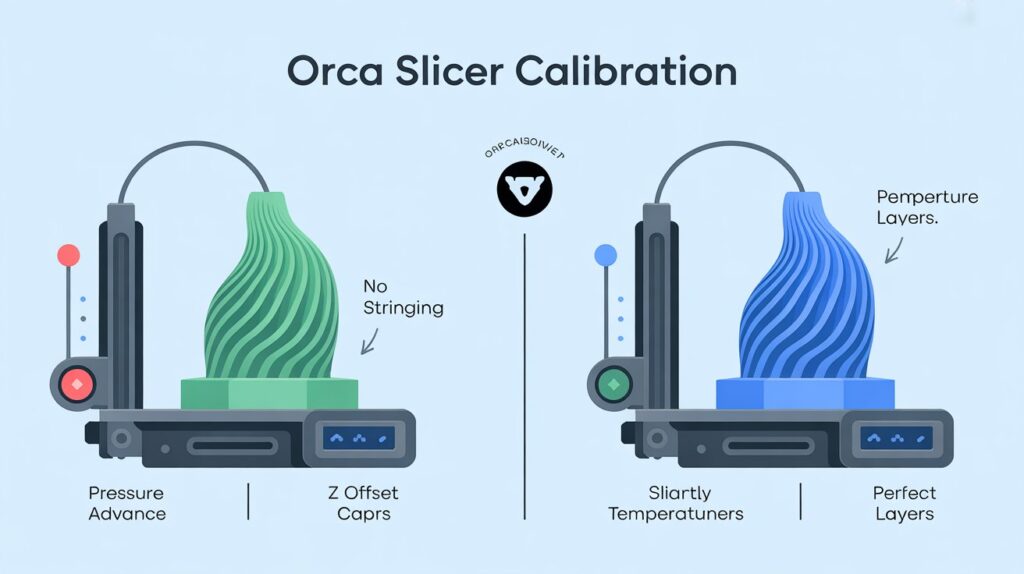
Follow these steps to calibrate your printer using Orca Slicer. Each process takes 20-40 minutes, depending on your printer and settings. Ensure your printer is in good mechanical condition (clean nozzle, leveled bed) before starting.
Step 1: Pressure Advance Calibration
Pressure Advance (PA) minimizes filament ooze at corners or speed changes, especially on Klipper-based printers.
- Open Orca Slicer and go to the Calibration menu.
- Select Pressure Advance (or PA Tower for Klipper users).
- Orca generates a test tower with varying PA values (e.g., 0.0 to 0.1 in 0.005 increments).
- Slice with your standard filament settings (e.g., 0.2mm layer height, PLA at 200°C).
- Print the tower and inspect for sharp corners and minimal stringing.
How to Read Your Pressure Advance Tower or Pattern Test
One of the most confusing steps for new users is converting the tower into a usable PA number.
Here’s how to do it:
- Note your test settings:
- Min value (starting PA): e.g.,
0.00 - Increment/Step size: e.g.,
0.005
- Min value (starting PA): e.g.,
- Find the cleanest result:
- If using a tower, measure the distance in millimeters from the base to the sharpest, cleanest corner.
- If using a pattern, count the band index starting from 0 at the bottom.
- Calculate your final PA value:
- Tower Formula:
Final Value = Min + (Height × Increment)
Example: Min 0.00, Increment 0.005, Height 14mm → 0.00 + (14 × 0.005) = 0.070 - Pattern Formula:
Final Value = Min + (Band Index × Step)
- Tower Formula:
- Apply this value in Orca Slicer under:
Filament Settings → Advanced → Pressure Advance - Re-run the test with a smaller range for fine-tuning if needed.
⚡ Pro Tip: Always run PA tests at the same speed and acceleration you normally print with.
A value tuned at 50mm/s won’t work correctly for 200mm/s.
Note: After completing any calibration workflow, create a new project in OrcaSlicer. This ensures that temporary calibration settings don’t carry over to your main print profiles. Use orca slicer calculator
Step 1.5: Adaptive Pressure Advance (APA)
Adaptive Pressure Advance (APA) dynamically adjusts PA values during a print based on speed and flow changes.
This eliminates the need to manually retune PA for different speeds.
How to Use APA:
- Go to
Calibration → Adaptive Pressure Advance. - Run the APA test with your usual print speed.
- Review the preview to see how Orca automatically adjusts values in real-time.
When to Use:
- Best for multi-speed prints or complex models.
- Especially useful with Klipper printers and Input Shaping enabled.
⚠️ Note: APA is still experimental.
Test on smaller models before applying it to important prints.
Step 2: Temperature Tower Calibration
Temperature affects filament flow and layer adhesion. A temperature tower helps find the sweet spot.
- In the Calibration menu, select Temperature Tower.
- Orca creates a tower with segments printed at different temperatures (e.g., 190°C to 230°C for PLA).
- Slice with your usual settings and print.
- Inspect the tower for:
- Smooth surfaces (no under-extrusion gaps)
- Strong layer bonding (no splitting)
- Minimal stringing or oozing
- Note the best temperature range and update it in your Filament Profile → Temperature → Nozzle.
- Save the profile for that filament type.
⚡ Pro Tip: Run this test for each filament brand, as PLA from different manufacturers can vary.
Step 3: Retraction Test Calibration
Retraction prevents stringing by pulling filament back when the nozzle moves.
- Go to Calibration → Retraction Test.
- Orca generates a test model with multiple retraction distances (e.g., 0.5mm to 2mm).
- Print using your standard settings.
- Check for:
- No strings between model features
- Clean surfaces without blobs or gaps
- Select the retraction distance with the best result and update it in your Filament Profile → Retraction.
⚡ Pro Tip: If stringing persists, adjust retraction speed alongside distance for Bowden or direct-drive extruders.
Step 4: Z Offset Calibration
A perfect first layer is critical for print adhesion. Z Offset adjusts the nozzle’s starting height.
- In Calibration, select Z Offset or run a First Layer Test.
- Orca generates a single-layer test print with a grid or patch.
- Print and inspect:
- Lines should be slightly squished but not overly flattened.
- No gaps or peeling from the bed.
- Adjust Z Offset in Orca Slicer under Printer Settings → Z Offset (e.g., +0.02mm or -0.02mm).
- Save and test with a small print like a calibration cube.
⚡ Pro Tip: Use a piece of paper to feel slight resistance under the nozzle during manual bed leveling before fine-tuning with Orca.
Step 5: Adaptive Bed Mesh Calibration
For uneven or warped beds, Adaptive Bed Mesh maps your print surface for consistent first layers.
- In Calibration, select Bed Mesh (best for Klipper or supported Marlin printers).
- Orca probes the bed at multiple points to create a mesh.
- Print a single-layer test (e.g., a large square).
- Check for uniform adhesion across the bed.
- Save the mesh to your printer profile under Printer Settings → Bed Mesh.
⚡ Pro Tip: Recalibrate after moving your printer or changing the bed surface.
Advanced Calibrations (For Power Users)
Orca Slicer includes extra calibration tools for specialized tuning.
These are optional but can greatly improve print quality for advanced setups.
- Tolerance Calibration:
Tests part fit and clearance for mechanical assemblies like gears or puzzles. - Volumetric Speed Calibration:
Determines the maximum extrusion flow rate for each filament to prevent under-extrusion at high speeds. - Cornering (Jerk & Junction Deviation):
Optimizes sharp corner handling and reduces ringing artifacts. - Input Shaping Calibration:
For vibration reduction on high-speed printers (Klipper recommended). - VFA (Vertical Fine Artifacts):
Detects Z-axis wobble and helps troubleshoot layer artifact issues.
Find these tools under Calibration → Advanced.
Troubleshooting Calibration Issues
Even with Orca Slicer’s intuitive tools, things can go wrong. Here are common issues and fixes:
Problem: Test prints look inconsistent across tools.
Solution: Verify bed leveling and nozzle condition. Run a flow rate calibration first.
Problem: Calibration values don’t improve prints.
Solution: Check e-steps (extruder steps/mm) in your firmware. Recalibrate with a clean nozzle and fresh filament.
Problem: Printer skips or fails during calibration.
Solution: Ensure stable USB/Wi-Fi connection and update to the latest Orca Slicer version.
For a step-by-step walkthrough, watch this helpful video tutorial: Orca Slicer Calibration Guide
Advanced Calibration Tips
- Combine Tools: Run Temperature → Flow Rate → Pressure Advance (or APA) → Retraction → (optional) Max Volumetric Speed for the most consistent results.
- Custom Profiles: Save separate profiles for each filament (e.g., “PLA_BrandX_HighDetail”).
- Nightly Builds: Test experimental features like advanced retraction algorithms in nightly builds.

