Orca Slicer Flow Rate Calibration: Step-by-Step Guide for Perfect 3D Prints
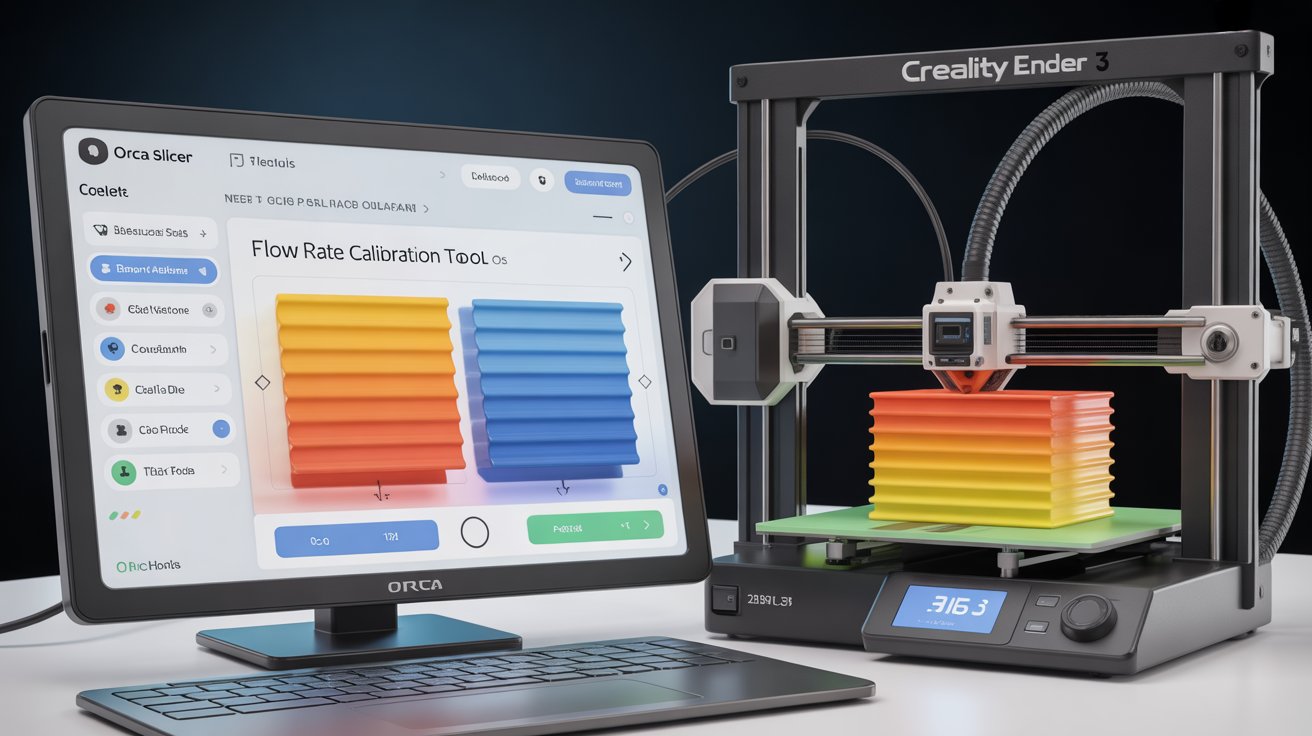
If you’re chasing that flawless 3D print—smooth surfaces, precise dimensions, and no pesky gaps or blobs—flow rate calibration is your secret weapon. As someone who’s tinkered with countless slicers, I can tell you Orca Slicer makes this process feel almost effortless.
Built on Bambu Studio but with extra smarts for a wider range of printers like Creality Ender 3, Anycubic Kobra, or Prusa MK3S+, Orca Slicer packs built-in tools that turn guesswork into precision.
In this guide, we’ll walk through Orca Slicer flow rate calibration step by step, drawing from the latest tips (as of 2025) to help you dial in your settings and elevate your prints. Whether you’re a beginner fixing under-extrusion or an intermediate user optimizing for new filaments, let’s get your flow rate spot-on.
Why Choose Orca Slicer for Flow Rate Calibration?
Orca Slicer stands out in the crowded world of 3D printing software because it integrates calibration right into the workflow—no clunky plugins needed like in Cura, and way more automated than PrusaSlicer’s basics. Here’s what makes it a go-to for flow rate tuning:
- Built-in Automation: Tools like automated test prints and visual guides save hours of manual tweaking.
- User-Friendly Interface: Clear instructions and profile updates ensure even novices can follow along without frustration.
- Broad Compatibility: Works seamlessly with Klipper, Marlin, or proprietary firmwares on printers from Bambu Lab to Voron or Elegoo Neptune series.
- Visual Feedback: Evaluate prints at a glance, focusing on real-world results rather than abstract numbers.
Compared to other slicers, Orca Slicer flow rate calibration is faster and more intuitive, helping you achieve consistent quality across materials like PLA, PETG, or ABS. If you’ve already set up Orca Slicer (check our Download Now page if not), you’re ready to dive in.
Understanding Flow Rate Calibration in Orca Slicer
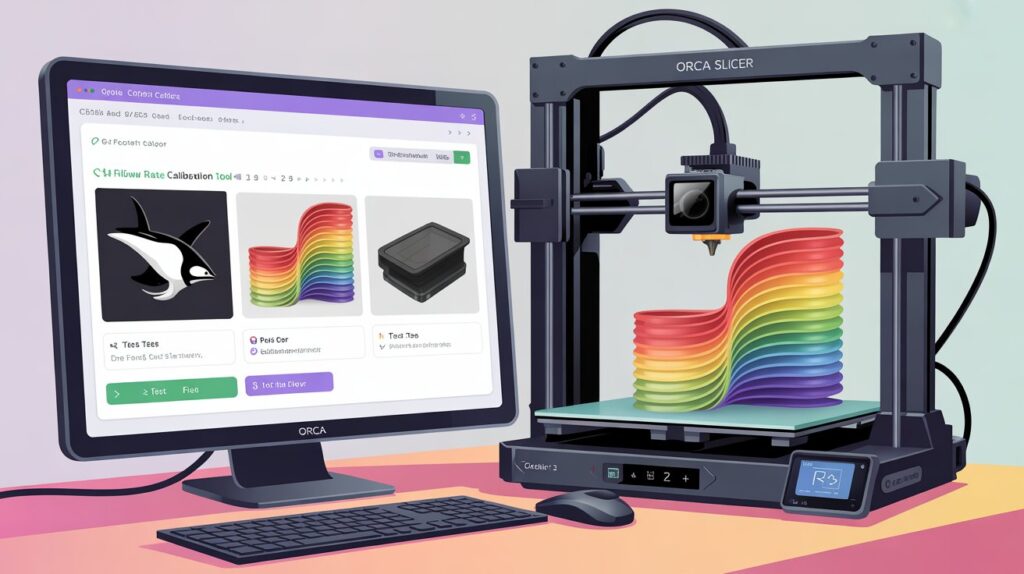
At its core, flow rate calibration adjusts how much filament your printer extrudes per command. Get it wrong, and you’ll see issues like:
- Under-Extrusion: Gaps, weak layers, or incomplete models.
- Over-Extrusion: Blobs, stringing, or warped surfaces.
A well-calibrated flow rate means smoother tops, stronger bonds, and accurate dimensions—essential for everything from prototypes to functional parts. Orca Slicer uses a two-pass system: Pass 1 for quick rough tuning and Pass 2 for fine refinement. This method prints test tiles with varying flow ratios, letting you pick the best based on visual inspection. Pro tip: Always calibrate after changing filaments or nozzles, as factors like temperature and material viscosity play a big role.
Quick Step-by-Step Guide to Orca Slicer Flow Rate Calibration
Follow these steps in Orca Slicer (version 2.3.1 or later for the smoothest experience). It takes about 20-30 minutes, including print time.
Step 1: Access the Flow Rate Calibration Tool
- Launch Orca Slicer and load your printer profile (if you haven’t set one up, head to our getting started guide).
- Click on the “Calibration” menu in the top toolbar.
- Select “Flow Rate” from the options.
- Choose “Pass 1” for your initial rough calibration—this prints tiles with broader flow variations (e.g., from 0.90 to 1.10 in 0.05 increments).
Step 2: Generate and Prepare the Test Print
- Orca Slicer automatically creates a test project: a grid of small squares or tiles, each extruded at a different flow ratio.
- Review the preview to ensure it fits your print bed.
- Slice the model using your standard settings (e.g., 0.2mm layer height, your filament’s recommended temperature).
- Export the G-code and start printing. Use a well-leveled bed and clean nozzle for accurate results.
Step 3: Print and Evaluate the Test Tiles
- Print the test on your usual filament and settings—aim for a short print time to iterate quickly.
- Once done, inspect the tiles under good lighting (a magnifying glass helps for details).
- Look for the ideal tile:
- Smooth, even top surface without ridges or pits.
- No gaps between lines (under-extrusion sign).
- No excess material bulging out (over-extrusion indicator).
- Select the tile with the cleanest appearance. Note its flow ratio (labeled on the print or in the software).
If results are unclear, run Pass 2 around your best Pass 1 value for finer adjustments (e.g., increments of 0.02).
Step 4: Apply the Optimal Flow Rate
- Back in Orca Slicer, enter the winning flow ratio into your filament profile under the “Filament” tab (e.g., set “Flow Ratio” to 0.98).
- Save the profile—Orca Slicer lets you create custom ones for different filaments.
- Test with a simple print like a calibration cube to verify improvements.
For visual learners, check out the “flowcalibration-example” in Orca Slicer’s GitHub wiki for reference images.
Common Issues and Troubleshooting Tips
Even with Orca Slicer’s simplicity, hiccups happen. Here’s how to fix them—many tie into our Troubleshoot section:
- Problem: All Tiles Look Similar or Poor Quality
Solution: Double-check bed leveling and nozzle temperature. Run a temperature tower first (another Orca tool) if extrusion seems inconsistent. - Problem: Under/Over-Extrusion Persists After Calibration
Solution: Ensure your e-steps are calibrated (printer firmware side). If using exotic filaments, measure extrusion manually with a caliper. - Problem: Print Fails Mid-Test
Solution: Verify filament feed and printer connectivity. If issues linger, try a nightly build from our Download Now page for potential fixes.
Pro tip: If you’re on a Klipper setup, integrate this with pressure advance for even better results.
Advanced Flow Rate Calibration Options in Orca Slicer
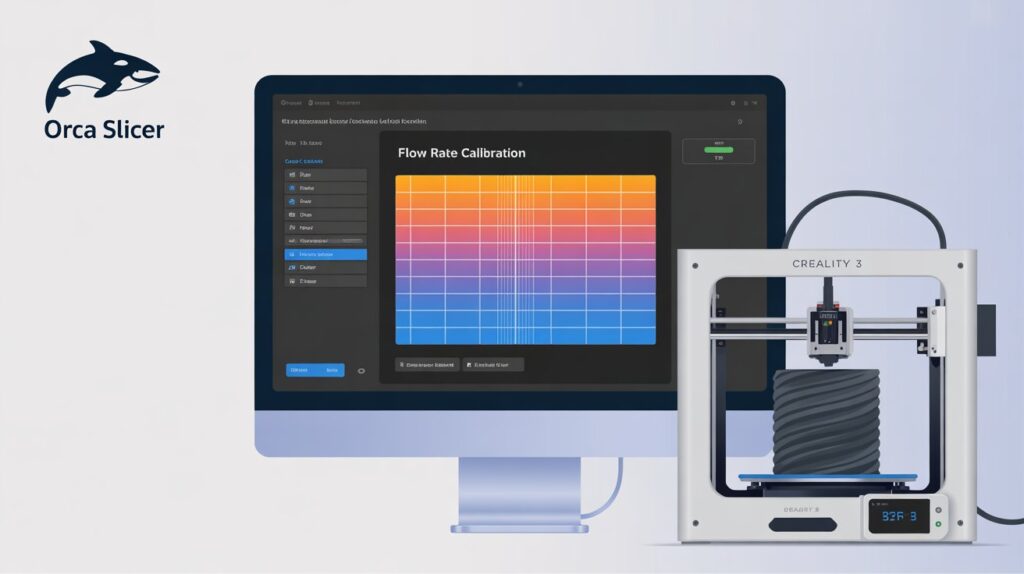
For pros or those switching filaments often:
- Manual Calibration: Measure wall thickness on a single-wall cube print and adjust flow accordingly (e.g., if measured 0.45mm instead of 0.4mm, reduce flow by 0.4/0.45 = 0.89).
- Max Volumetric Speed Test: After flow rate, tune for high-speed printing without over-extruding—great for faster printers like Bambu X1C.
- YOLO Test (Experimental): An incremental extrusion test to dynamically find your multiplier; useful for variable filaments but less common—stick to standard passes unless experimenting.
These build on flow rate, so calibrate in order: temperature first, then flow, pressure advance, and retraction.
Quick Tips for Best Results with Orca Slicer Flow Rate Calibration
- Calibrate per filament: Brands vary, so save profiles for each (e.g., “PLA_BrandX_0.98”).
- Recheck every 1-2 months or after hardware changes like a new nozzle.
- Combine with other tools: Flow rate pairs perfectly with Orca’s seam painting for cleaner aesthetics.
- Test Real-World: After calibration, print a complex model to confirm—no more surprises!
FAQs on Orca Slicer Flow Rate Calibration
For more Q&A, swing by our Contact Us page.



![12 Best Orca Slicer Alternatives in 2026 [Free & Paid Options] 9 12 Best Orca Slicer Alternatives in 2026 [Free & Paid Options]](https://orcaslicer3d.com/wp-content/uploads/2025/09/Best-Orca-Slicer-Alternatives-768x431.jpeg)