Welcome to the Orca Slicer WIKI!
OrcaSlicer is an advanced open-source slicing software designed for precision, speed, and customization in FFF/FDM 3D printing.
This wiki is your one-stop hub — from installation and first-run setup to deep calibration, quality tuning, advanced supports, and creative effects.
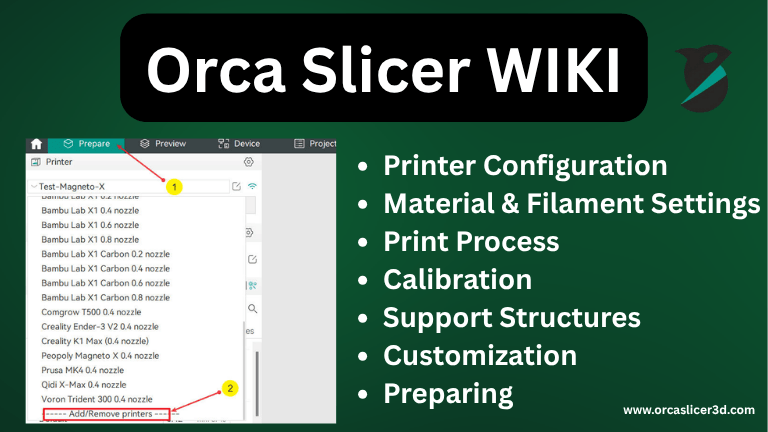
New to OrcaSlicer? Start with Getting Started → then follow Printer Configuration, Material Settings, Process & Quality, and Calibrations. Use the More details links under each head:ing to open the full guides.
Getting Started with OrcaSlicer: If you’re using 3d Printer for the first time, don’t worry You Can Orca Slicer Download and setup is straightforward. This section will walk you through building, profile creation, wiki contribution, and built-in placeholders that make customization easy.
Printer Setup and Hardware Installation:
A proper setup of the printer is the foundation for high-quality OrcaSlicer prints. With OrcaSlicer, you can easily access and control fans, heaters, and bed settings directly within the software without needing any additional tools. This streamlined configuration ensures smoother operation and consistent print quality from the very first layer.
Air Filter / Exhaust Fan Operator Handling
Control air filtration or exhaust fans with included fan commands. This removes harmful VOCs and keeps your chamber clean. These fans can all be connected via pairing mode in OrcaSlicer settings without using third-party software.
Auxiliary Fan Settings
Booster or auxiliary and secondary fans enhance cooling immediately following extrusion. They help prevent warping or sagging and produce smoother layers faster.
Chamber Temperature Control
A stable chamber temperature helps prevent cracks in materials such as ABS or PC. OrcaSlicer can preheat, maintain, and automatically manage the chamber depending on your filament.
Adaptive Bed Mesh
The quality of the first layer depends on proper bed leveling. Adaptive Bed Mesh probes only under your model, saving time and improving results.
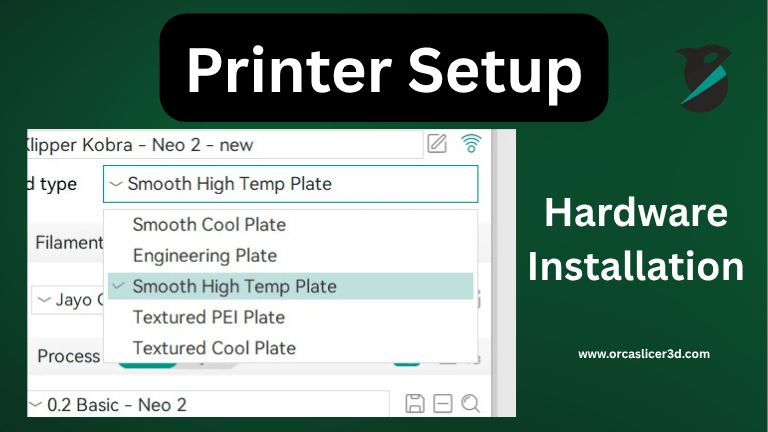
Bed Types
You can choose between different bed types (smooth, textured, high-temp) directly in OrcaSlicer. Each has default temperatures and offsets for optimal adhesion and surface finish.
Material and Filament Settings:
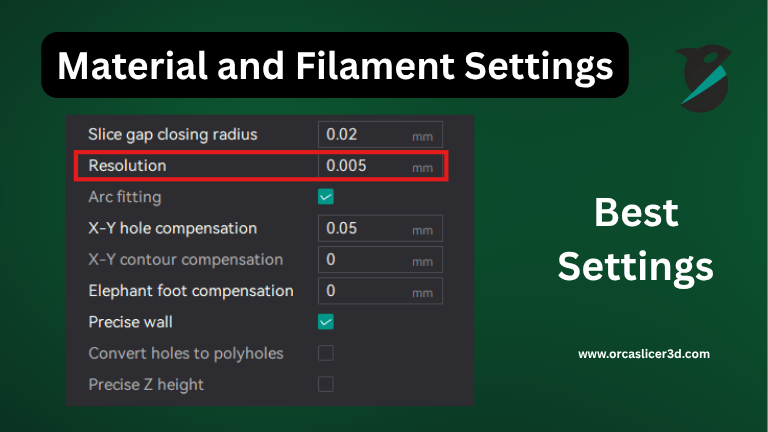
Each filament behaves differently. OrcaSlicer allows you to match temperature, flow, and cooling to each material.
Single Extruder Multimaterial

Print with multiple materials on one nozzle using purge towers and timed filament swaps.
Pellet Printers (Pellet Flow Coefficient)
For large printers equipped with pellet feeders, you can control flow by selecting a pellet coefficient instead of filament volume.
Prime Tower
The prime tower automatically removes excess filament during color swaps to keep colors pure and prevent oozing.
Filament of Features
Assign different materials for infill, walls, or supports. Strength and flexibility come from mixing flexible and hard materials.
Ooze Prevention
Lower the idle nozzle temperature to prevent oozing and keep colors clean.
Flush Options
Flush the nozzle automatically before printing new material. This is helpful when switching from dark to light filaments.
Advanced Multimaterial Settings
Regulate ramming control, purge flow, fan speeds, and temperature ramps for smooth color changes.
Printing Process and Quality Improvement:

This section is where you refine the look, strength, and speed of your print.
Quality Settings:

Precision
Use smaller nozzles and tighter tolerances for precise components.
Layer Height
Smaller layers provide finer details but increase print time.
Line Width
Adjust line width according to wall bonding or surface texture.
Seam Settings
Shift or hide the seam for smoother surfaces.
Ironing Settings
Reprint the top layer slowly for a glossy finish.
Wall and Surface Quality
Print outer walls last for a cleaner appearance.
Bridging and Overhangs
Use fan speed and cooling to control bridging cleanly.
Strength Settings:
Walls
Add extra perimeters for stronger outer shells.
Top and Bottom Shells
More top layers create a stronger surface; thicker bottoms improve adhesion.
Infill and Patterns
Choose grid or gyroid infill for strength, or line infill for faster prints.
Template Metalanguage (Infill Rotation)
Rotate infill 90 degrees each layer to distribute force evenly.
Advanced Strength Settings
Control infill width and alignment to reduce weak points.
Speed Settings:
Initial Layer Speed
Slow the first layer for better bed adhesion.
Other Layers Speed
Balance inner and outer wall speeds to prevent vibration.
Overhang Speed
Reduce speed for steep overhangs to retain shape.
Travel Speed
Move quickly when not extruding to save time.
Acceleration and Jerk (XY)
Adjust smoothness to prevent ringing on corners.
Extrusion Rate Smoothing
Smooth flow changes to prevent blobs and gaps.
Calibration and Performance Tuning:
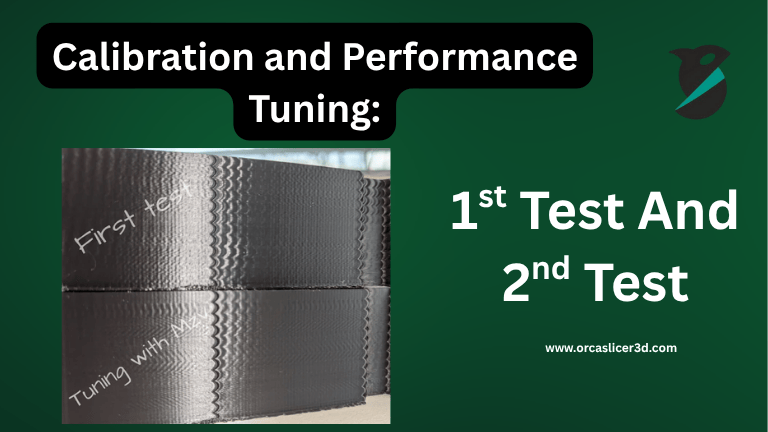
| Calibration Type | Purpose / Description |
|---|---|
| Temperature Calibration | Print a temperature tower to identify the ideal temperature for surface quality and layer adhesion. |
| Flow Rate Calibration | Measure wall thickness and fine-tune the extrusion flow in slicer settings for accurate material output. |
| Pressure Advance Calibration | Apply pressure control to reduce blobs and stringing, especially around corners or small features. |
| Adaptive Pressure Advance Calibration | Automatically adjusts pressure values during bridging and fast movements for consistent extrusion. |
| Retraction Calibration | Optimizes retraction distance and speed to prevent stringing and keep the nozzle clean during travel moves. |
| Tolerance Calibration | Ensures printed parts fit precisely and maintain accurate dimensional tolerances for assembly. |
| Volumetric Speed Calibration | Determines the fastest stable extrusion rate that each filament can handle without under- or over-extrusion. |
| Cornering (Jerk & Junction Deviation) | Tunes how the printer handles sharp turns to achieve smoother edges and reduce ringing at high speeds. |
| Input Shaping Calibration | Synchronizes printer movement to eliminate vibration and ghosting artifacts on print surfaces. |
| VFA (Vertical Fine Artifact) Calibration | Corrects vertical banding by improving Z-axis consistency and layer alignment. |
| SEMM & Advanced Stability Tuning | Enhances printer rigidity and dynamic performance to reduce vibration and improve print stability. |
Support Structures and Build Plate Adhesion:
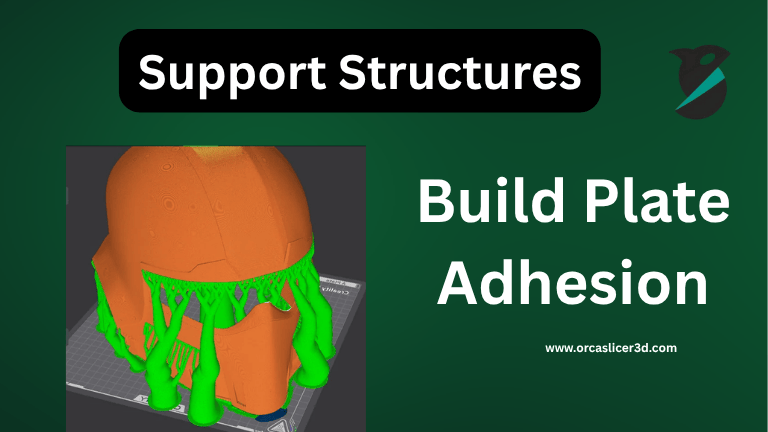
Supports help print overhangs, and adhesion helpers improve bed grip and stability.
Support Basics Settings
Make sure supports are strong enough to hold parts but easy to remove.
Tree Supports
Tree supports save filament and protect delicate prints.
Raft
Adds a removable base layer to prevent warping.
Filament and Ironing for Supports
Use smooth interface layers for a cleaner underside.
Advanced Support Controls
Adjust spacing and angles for easier support removal.
Adhesion Helpers:
Skirt
Prime the nozzle before printing for clean extrusion.
Brim
Add a brim for better adhesion on tall or thin prints.
Customization and Special Effects:
Enhance your prints with creativity and automation.
Fuzzy Skin (Textured Surfaces)
Add a textured surface to hide imperfections and improve grip.
Special Modes (Spiral Vase and Adaptive Layers)
Print single-wall vases or adaptive layered designs for curved items.
G-Code Output
Customize how OrcaSlicer generates and formats G-code.
Post Processing Scripts
Add pauses, lighting effects, or color changes after slicing.
Notes / Custom Metadata
Store project notes or version data directly in your G-code.
Preparing and Transforming Models
Preparing and transforming 3D models in Orca Slicer is a crucial step for achieving accurate, clean, and efficient prints. Before slicing, your model must be optimized to ensure smooth layer transitions and proper geometry interpretation by the slicer. Orca Slicer allows you to seamlessly convert complex file formats such as STEP or OBJ into STL, automatically correcting mesh errors like flipped normals, open edges, and non-manifold geometry that can affect print quality.
Its built-in mesh repair and geometry optimization tools help users fill gaps, merge multiple parts, or hollow out solid models to reduce material use and printing time without compromising structural integrity. Whether you are working with intricate designs or simple prototypes, properly preparing your model in OrcaSlicer ensures dimensional accuracy, cleaner slicing performance, and an overall higher-quality print result.
General Print Problems and Solutions
General print problems and solutions in OrcaSlicer focus on identifying and fixing common 3D printing issues that affect quality, stability, and consistency. Problems like layer shifting, stringing, or uneven extrusion often stem from mechanical imbalances, loose belts, incorrect retraction, or improper temperature control.
OrcaSlicer provides guided calibration steps to help users run tests in the correct order, ensuring that flow rate, pressure advance, and bed leveling are properly aligned before starting a print. Bed adhesion and warping can be minimized by cleaning the build surface, readjusting the Z-offset, or applying adhesion helpers such as brims and rafts to stabilize the model.
For advanced users, syncing firmware parameters and Klipper macros with OrcaSlicer’s motion limits ensures smoother communication between hardware and software, reducing vibration, ghosting, and layer misalignment. By following these troubleshooting techniques, users can maintain reliable performance, achieve consistent results, and extend the lifespan of their 3D printer.
Final Summary
This OrcaSlicer Wiki gives you everything you need to achieve precise, durable, and high-quality prints. From printer setup and filament tuning to print process optimization and troubleshooting, each section helps you master OrcaSlicer step by step. Whether you’re new to slicing or an experienced user, this guide helps you print smarter, faster, and with greater accuracy.
